PompeiiinPictures

II.9.4 Pompeii. Casa del Larario Fiorito or House of the Floral Lararium.

Excavated 1951, 1954, 1987. Restored 1988. Re-opened 2018.


Originally when excavated, this was numbered as Reg. II, Insula 12.


Part 1      Part 2      Part 3      Part 4      Part 5      Plan
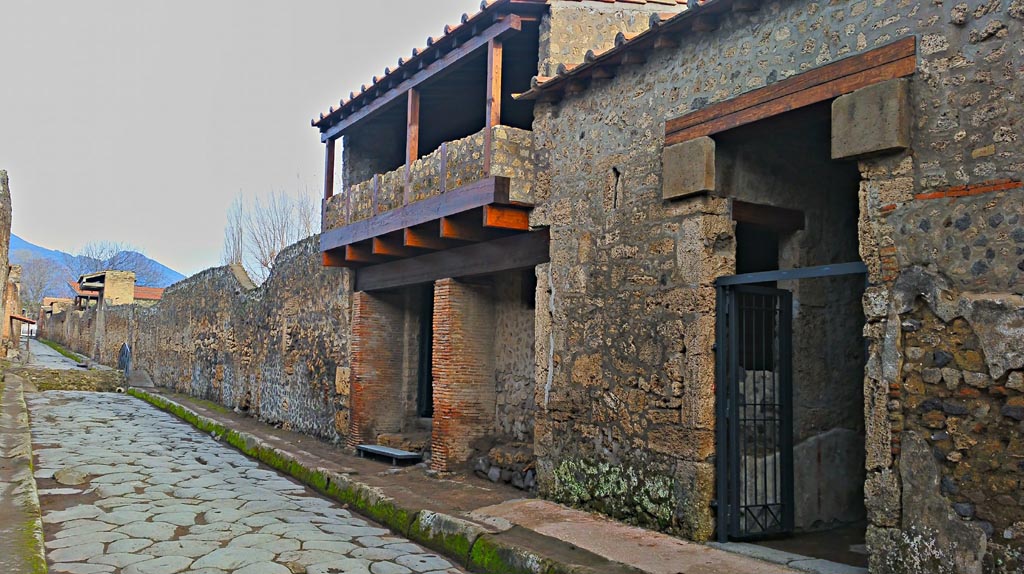
 

II.9.4 Pompeii. 2017/2018/2019. Entrance doorway, on right, on east side of Via di Nocera. Photo courtesy of Giuseppe Ciaramella.
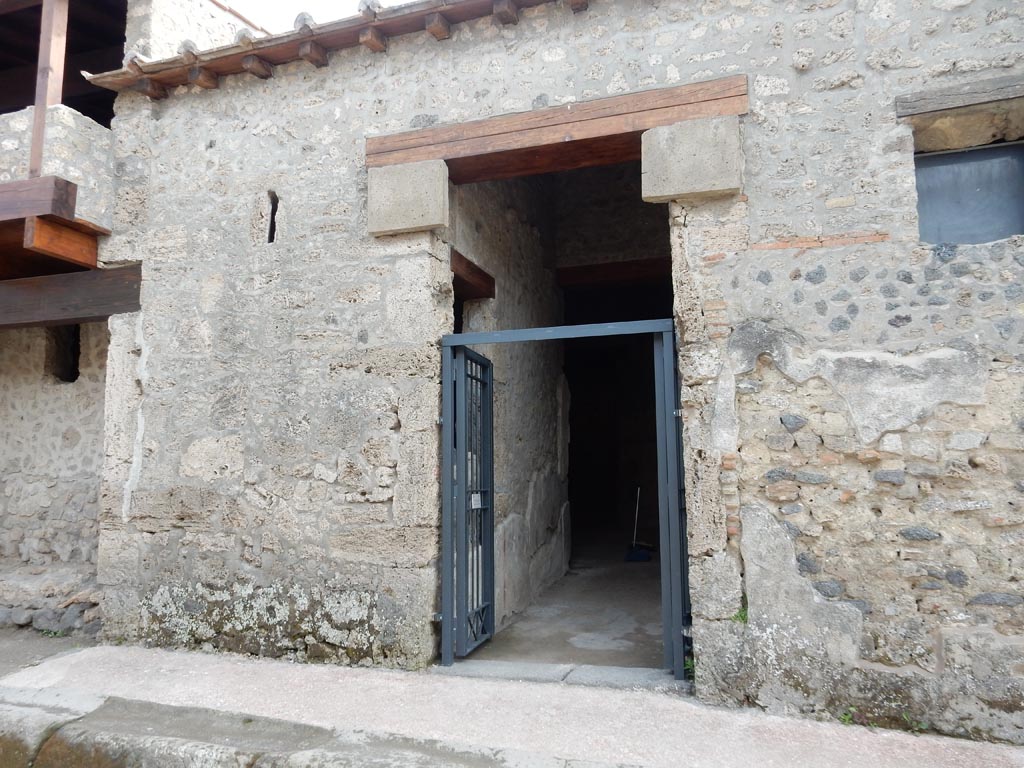
II.9.4 Pompeii. 2018. Entrance doorway, on right, on east side of Via di Nocera. Photo courtesy of Giuseppe Ciaramella.


II.9.4, Pompeii. May 2018. Looking towards entrance doorway on east side of Via di Nocera.
This house is linked to the dwelling at II.9.3, and because the closed doorway there is still blocked by a plaster-cast of the door at the time of the eruption, the entrance to both houses is here at II.9.4, but see also II.9.3 for its rooms. Photo courtesy of Buzz Ferebee.

II.9.4 Pompeii. May 2018. Looking towards entrance doorway on east side of Via di Nocera.

This house is linked to the dwelling at II.9.3, and because the closed doorway there is still blocked by a plaster-cast of the door at the time of the eruption, the entrance to both houses is here at II.9.4 but see also II.9.3 for its rooms.  Photo courtesy of Buzz Ferebee.
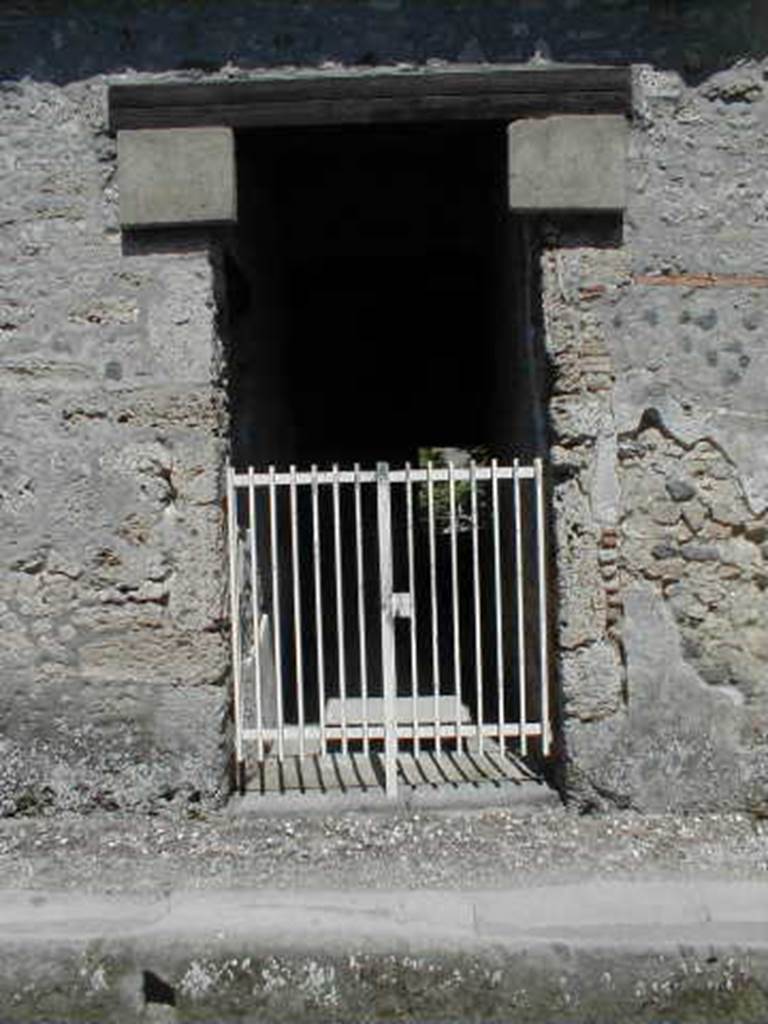
 

II.9.4. Pompeii. May 2005.  Entrance.

II.9.4 Pompeii. May 2005. Entrance doorway.
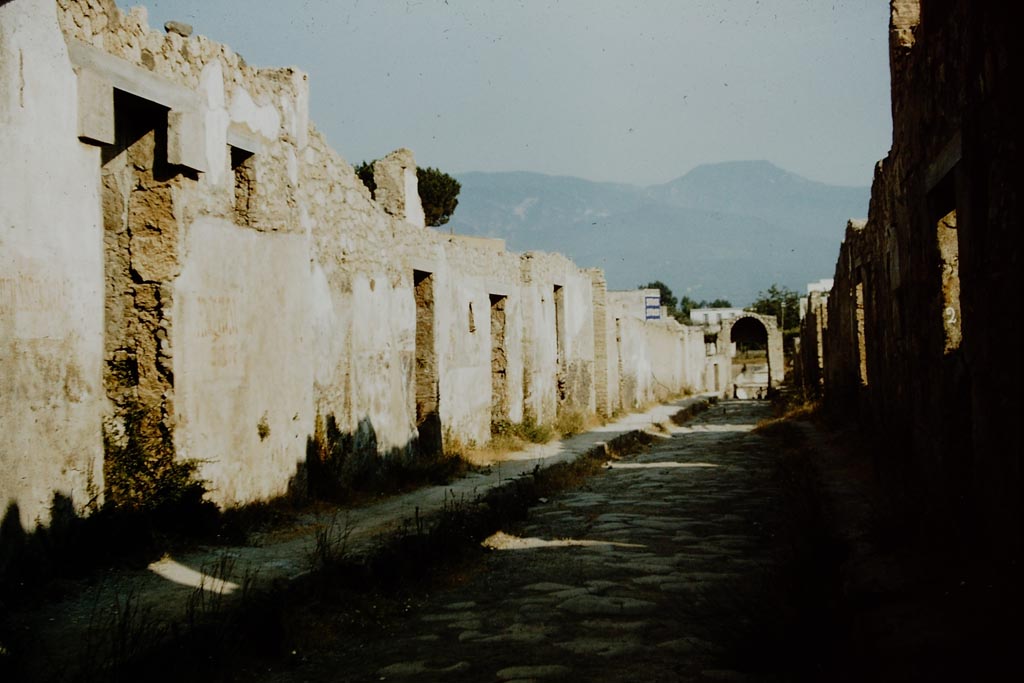
 

II.9.4, on left, Pompeii. 1957. Looking south along Via di Nocera towards Nocera gate.
Photo by Stanley A. Jashemski.
Source: The Wilhelmina and Stanley A. Jashemski archive in the University of Maryland Library, Special Collections (See collection page) and made available under the Creative Commons Attribution-Non Commercial License v.4. See Licence and use details. J57f0357

II.9.4, on left, Pompeii. 1957. Looking south along Via di Nocera towards Nocera gate. Photo by Stanley A. Jashemski.

Source: The Wilhelmina and Stanley A. Jashemski archive in the University of Maryland Library, Special Collections (See collection page) and made available under the Creative Commons Attribution-Non-Commercial License v.4. See Licence and use details.

J57f0357
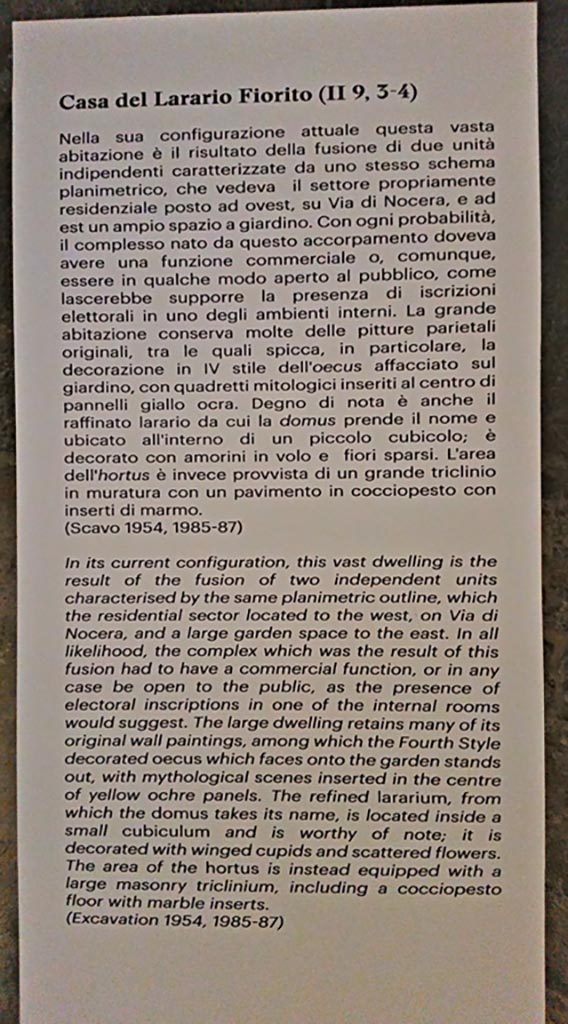
 

II.9.4 Pompeii. 2018. 
Display information notice. Photo courtesy of Giuseppe Ciaramella.
II.9.3/4 Pompeii. 2018.

Display information notice. Photo courtesy of Giuseppe Ciaramella.
 

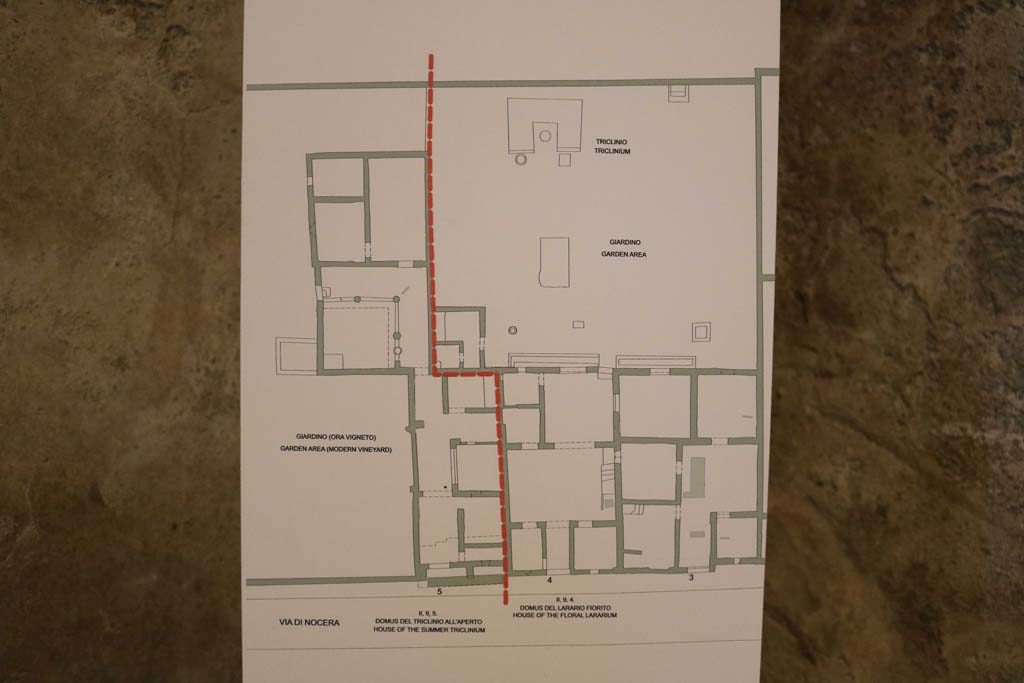
II.9.4 Pompeii. December 2018. Plan of dwelling, on right side of red line. Photo courtesy of Aude Durand.

II.9.4 Pompeii. December 2018. Plan of dwelling, on right side of red line. Photo courtesy of Aude Durand.


II.9.4 Pompeii. December 2023.
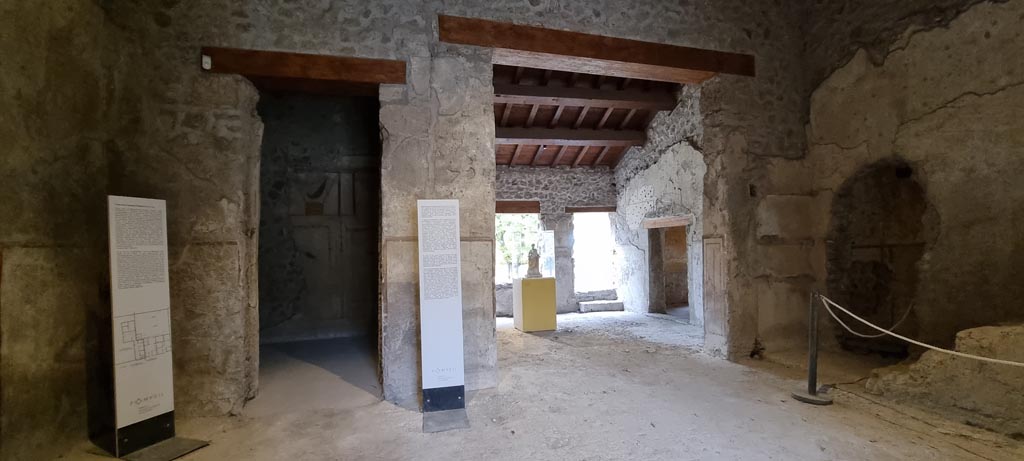
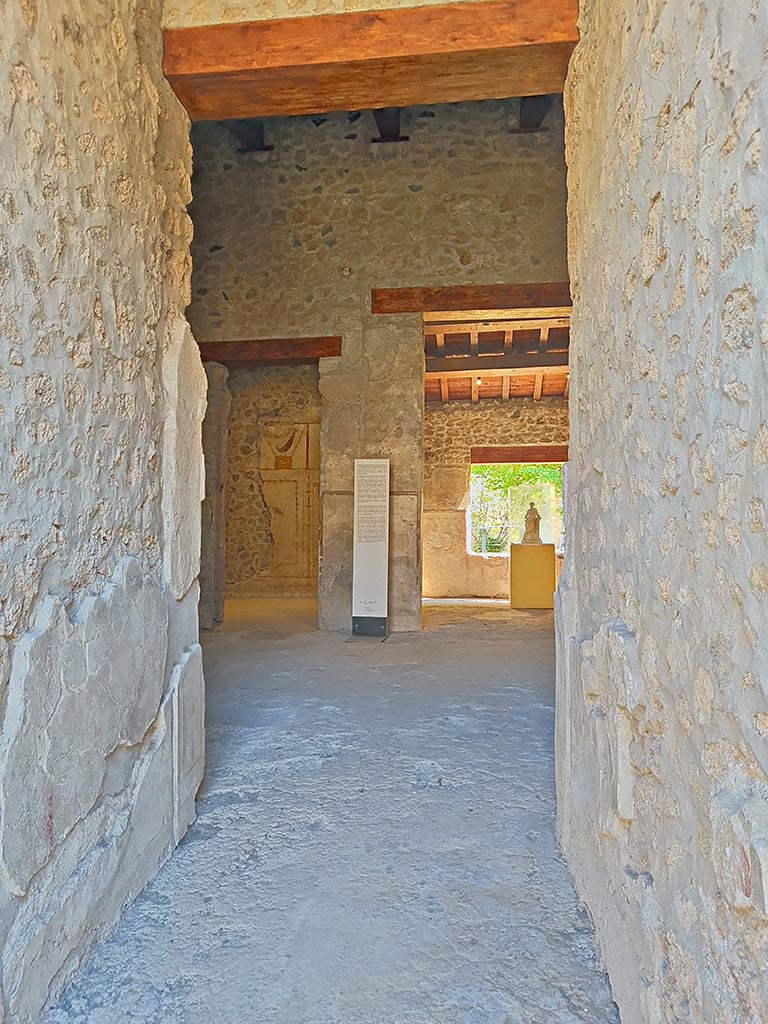
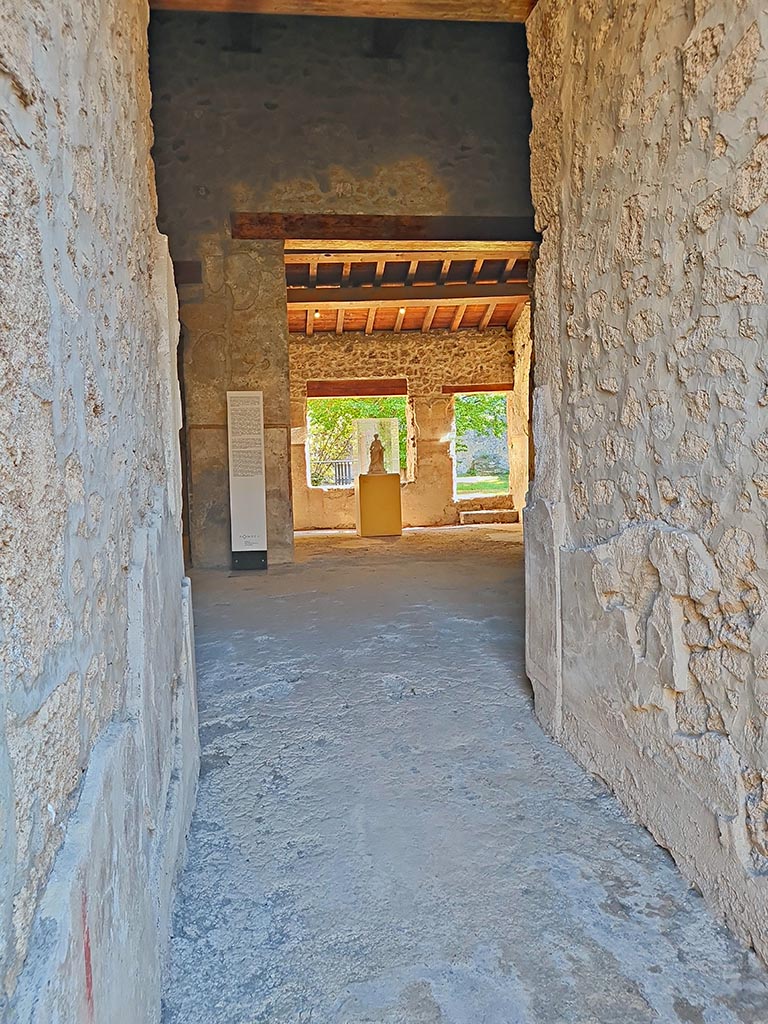
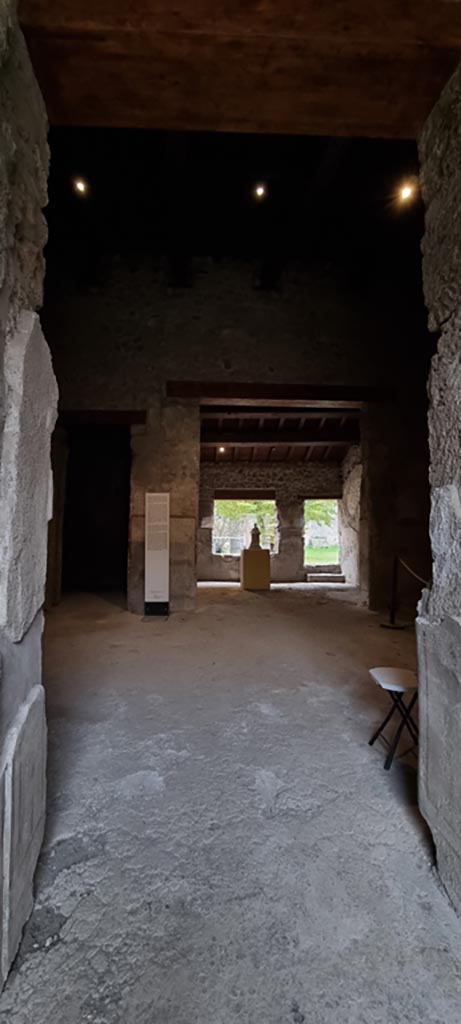
Looking east from entrance corridor across atrium 2, towards rear room 5. 
Photo courtesy of Miriam Colomer.

II.9.4 Pompeii. December 2023.

Looking east from entrance corridor across atrium 2, towards rear room 5.

Photo courtesy of Miriam Colomer.


II.9.4 Pompeii. May 2005. Looking east from entrance corridor across atrium 2, towards rear room 5..

II.9.4 Pompeii. May 2005. Looking east from entrance corridor across atrium 2, towards rear room 5.


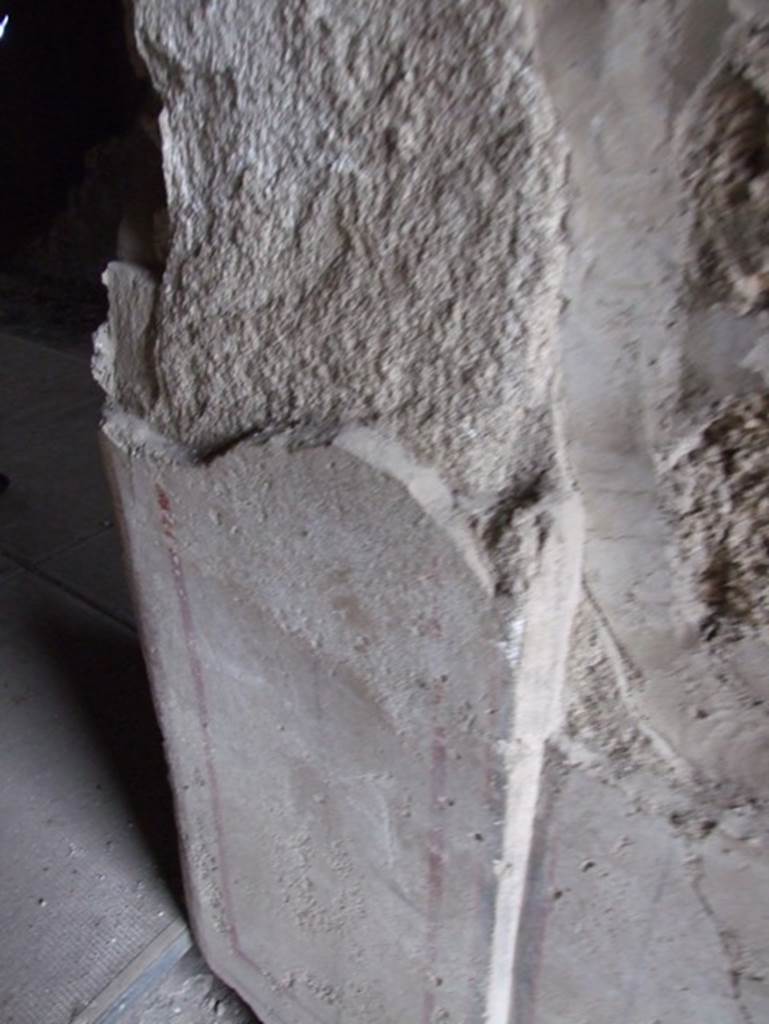
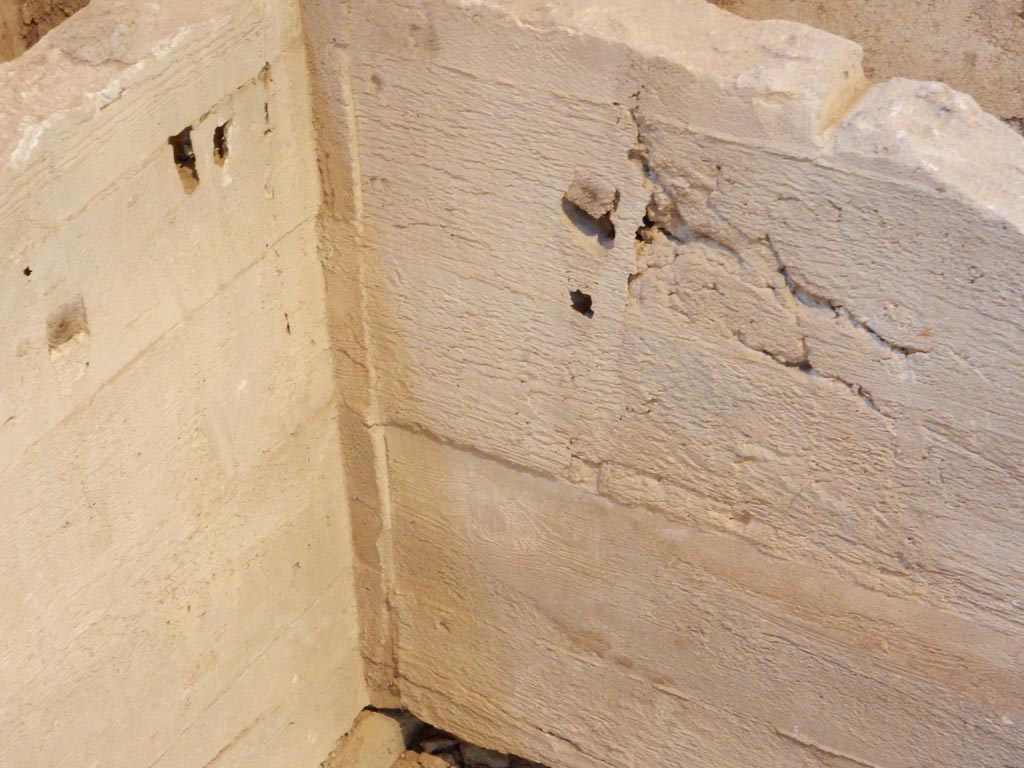
II.9.4 Pompeii. December 2007. Plaster on lower corner of north side of fauces wall.

II.9.4 Pompeii. December 2007. Plaster on lower corner of north side of fauces wall.


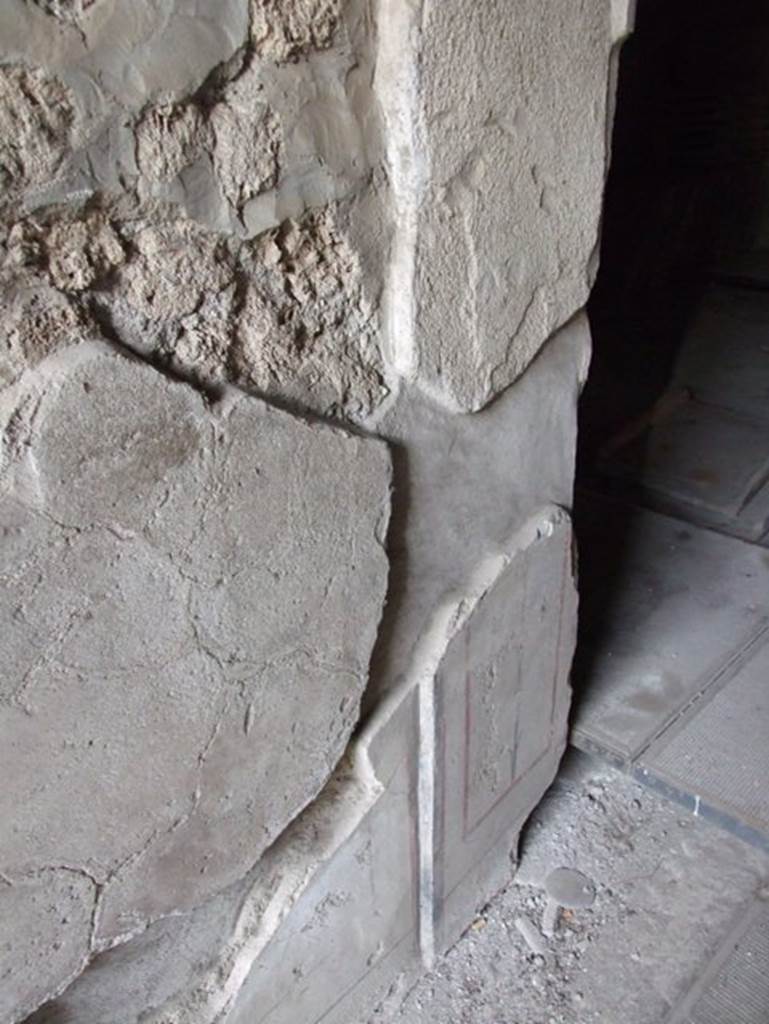
II.9.4 Pompeii.  December 2007.  Plaster on lower corner of south side of fauces wall.

II.9.4 Pompeii. December 2007. Plaster on lower corner of south side of fauces wall.


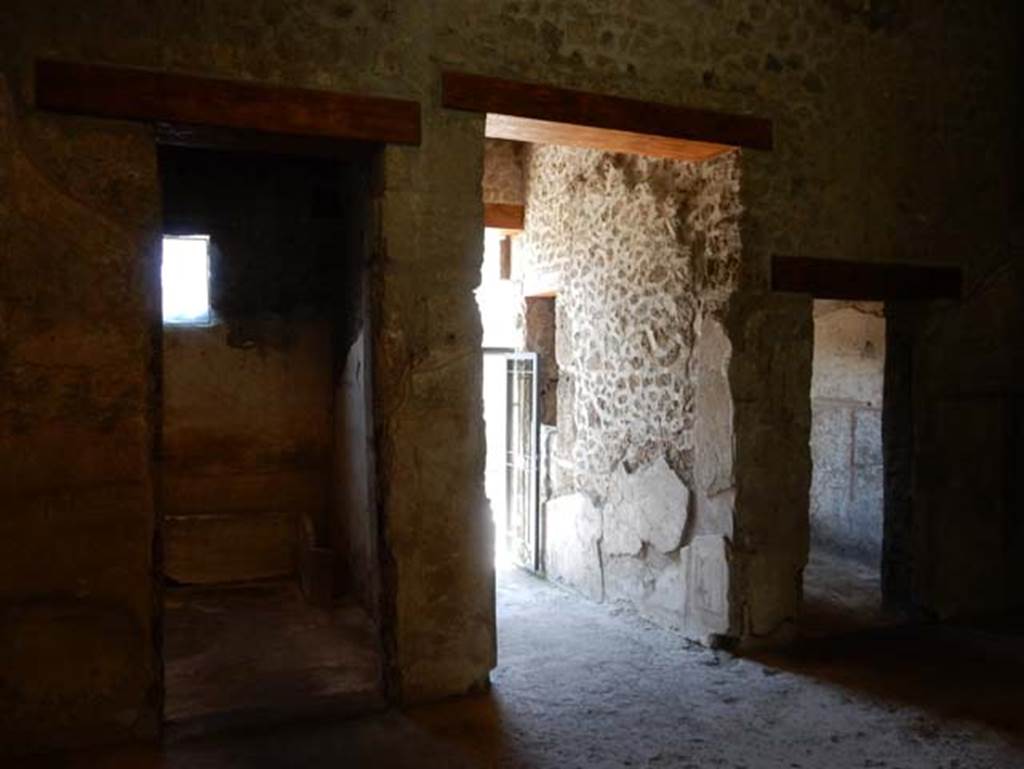
II.9.4, Pompeii. May 2018. 
Looking west across atrium 2, with doorway to room 3, on left, entrance corridor, centre, and room 1, on right.
Photo courtesy of Buzz Ferebee.

II.9.4 Pompeii. May 2018.

Looking west across atrium 2, with doorway to room 3, on left, entrance corridor, centre, and room 1, on right. Photo courtesy of Buzz Ferebee.


II.9.4, Pompeii. May 2018.Looking north across atrium 2. With doorway to room 1 on left and room 4 on right.
Photo courtesy of Buzz Ferebee.

II.9.4 Pompeii. May 2018.

Looking north across atrium 2. With doorway to room 1 on left and room 4 on right. Photo courtesy of Buzz Ferebee.


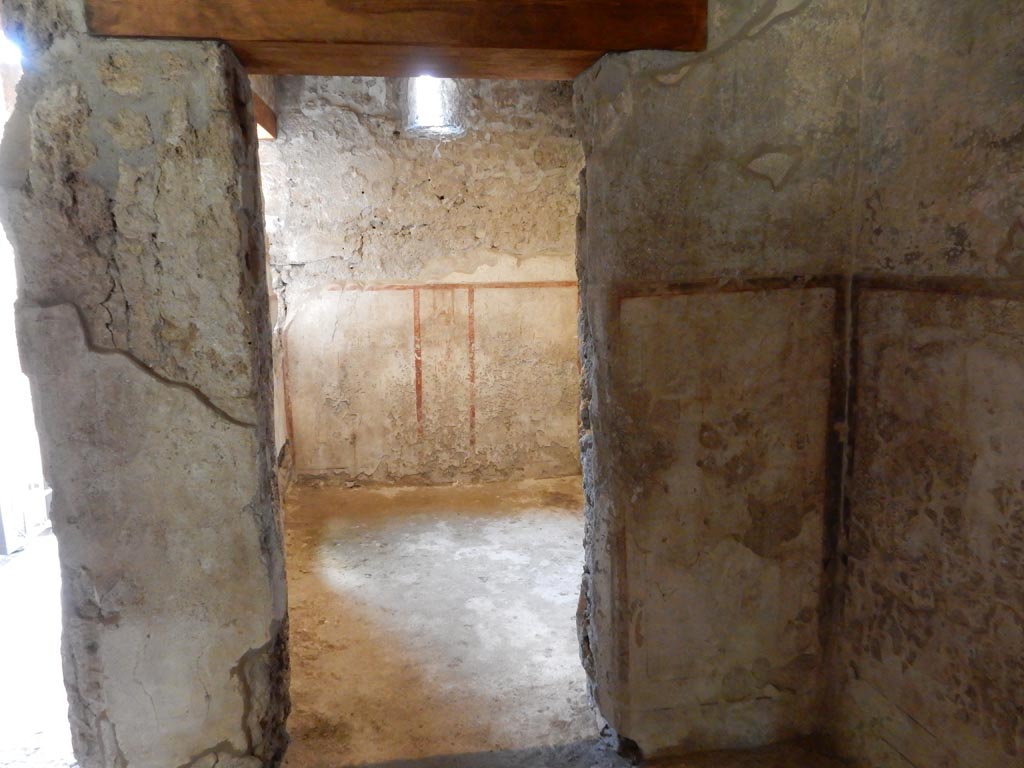
II.9.4, Pompeii. May 2018. Room 1. Looking through doorway to room to north (left) of entrance.
Photo courtesy of Buzz Ferebee.

II.9.4 Pompeii. May 2018. Room 1. Looking through doorway to room to north (left) of entrance. Photo courtesy of Buzz Ferebee.


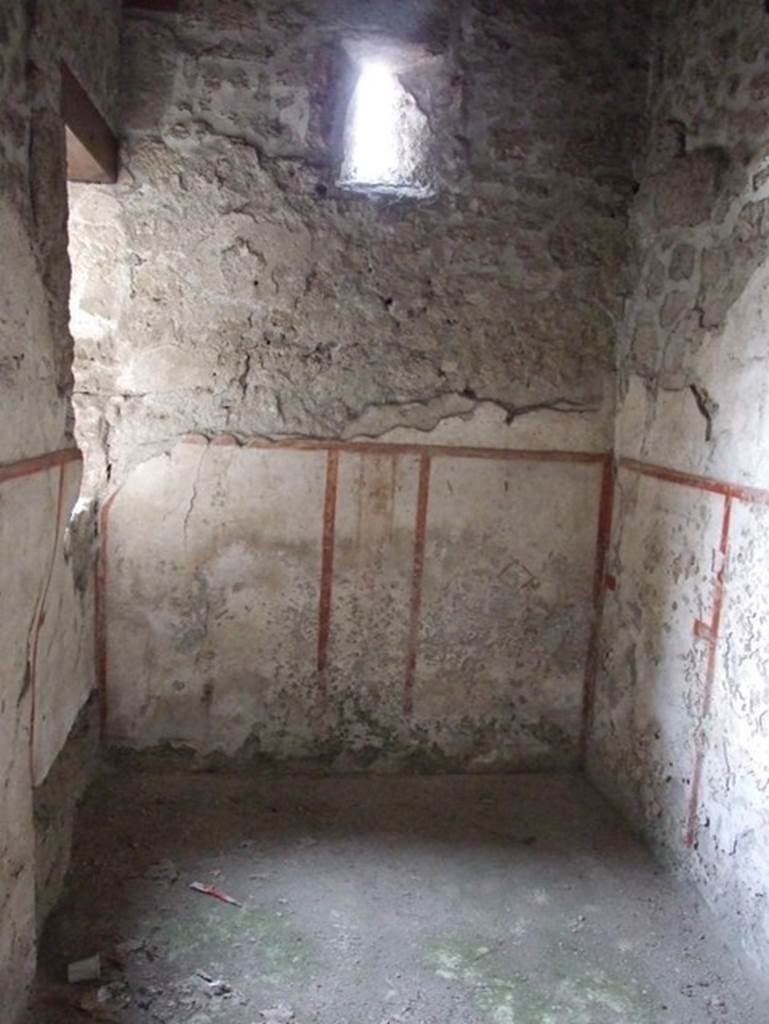
II.9.4 Pompeii. December 2007. Room 1. Looking through doorway towards west wall.

II.9.4 Pompeii. December 2007. Room 1. Looking through doorway towards west wall.


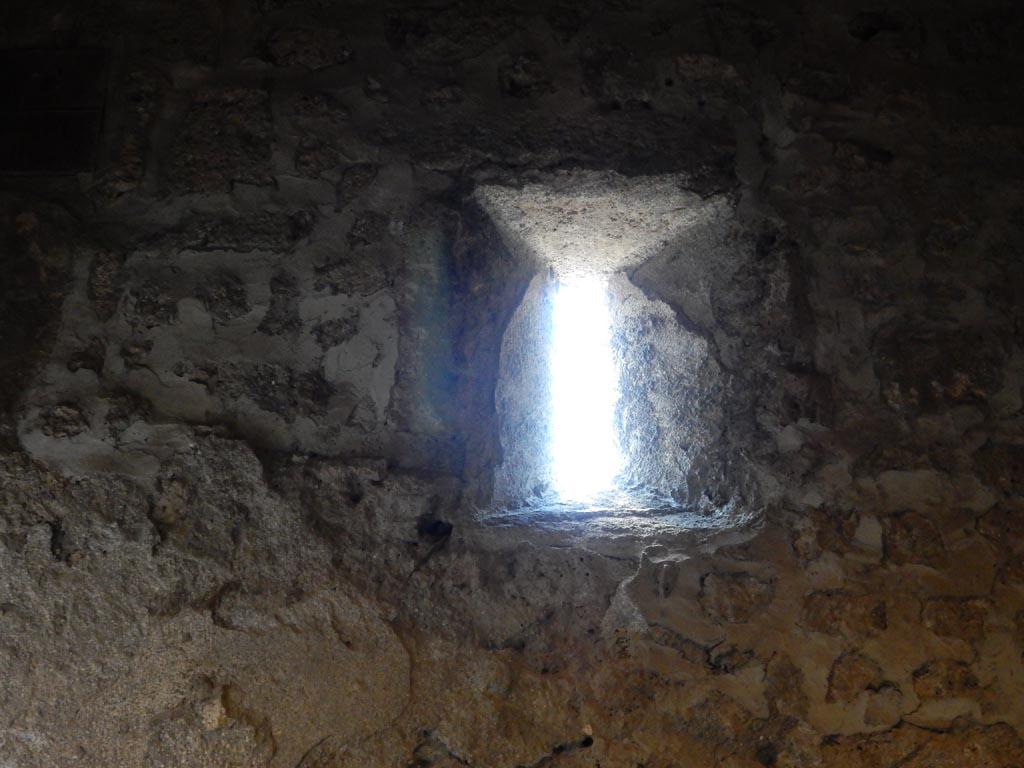
II.9.4, Pompeii. May 2018. Room 1, window in west wall. Photo courtesy of Buzz Ferebee.

II.9.4 Pompeii. May 2018. Room 1, window in west wall. Photo courtesy of Buzz Ferebee.


II.9.4, Pompeii. May 2018. Room 1, looking towards south-west corner, with window to entrance corridor and recess.
Photo courtesy of Buzz Ferebee.

II.9.4 Pompeii. May 2018.

Room 1, looking towards south-west corner, with window to entrance corridor and recess. Photo courtesy of Buzz Ferebee.


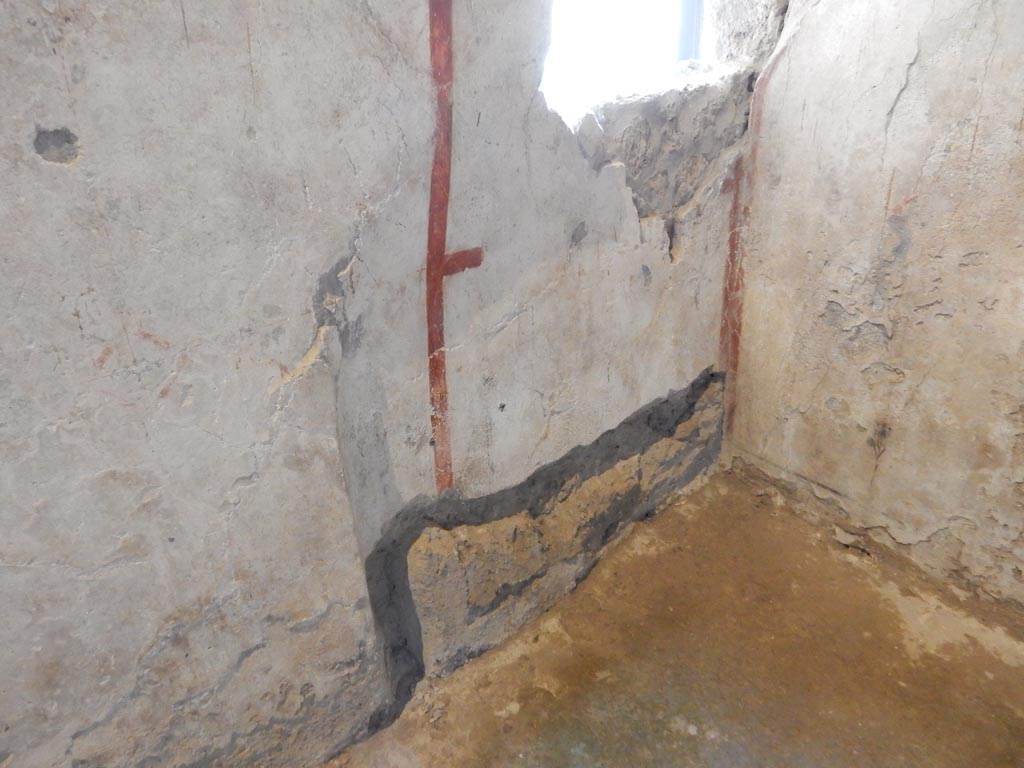
II.9.4, Pompeii. May 2018. Room 1, recess in south-west corner. Photo courtesy of Buzz Ferebee.

II.9.4 Pompeii. May 2018. Room 1, recess in south-west corner. Photo courtesy of Buzz Ferebee.


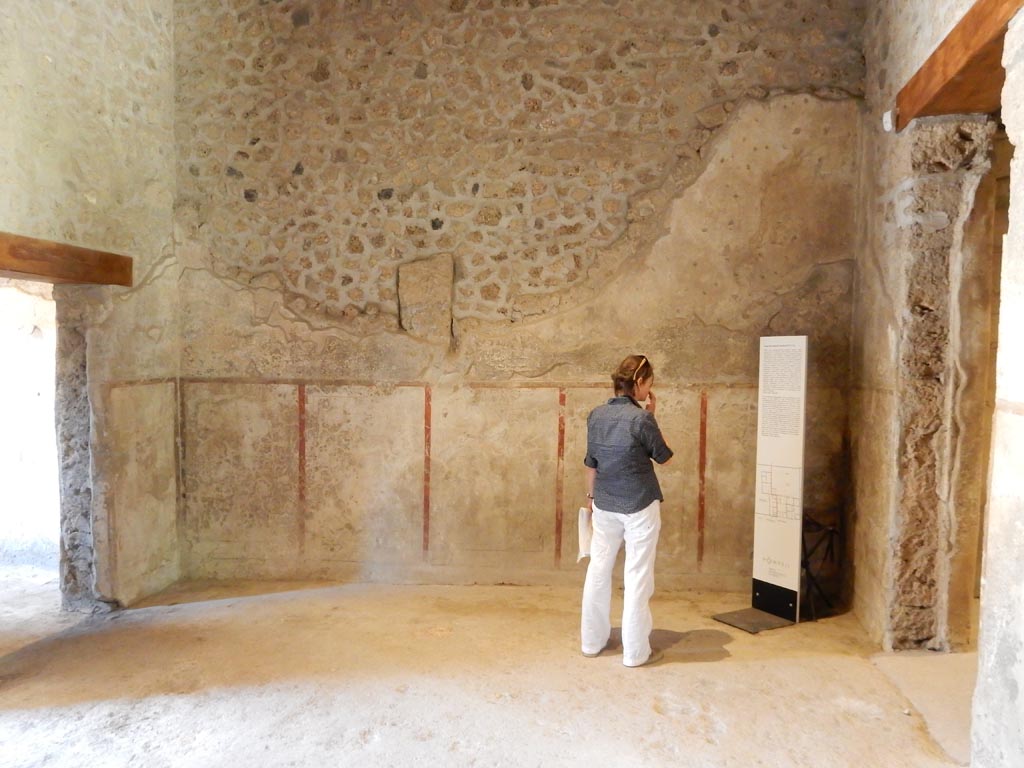
II.9.4, Pompeii. May 2018. Room 1. Looking towards north-west corner. Photo courtesy of Buzz Ferebee.

II.9.4 Pompeii. May 2018. Room 1. Looking towards north-west corner. Photo courtesy of Buzz Ferebee.


II.9.4 Pompeii. December 2023.
Room 3, looking west through doorway into room on south side of entrance doorway. 
Photo courtesy of Miriam Colomer.

II.9.4 Pompeii. December 2023.

Room 3, looking west through doorway into room on south side of entrance doorway.

Photo courtesy of Miriam Colomer.


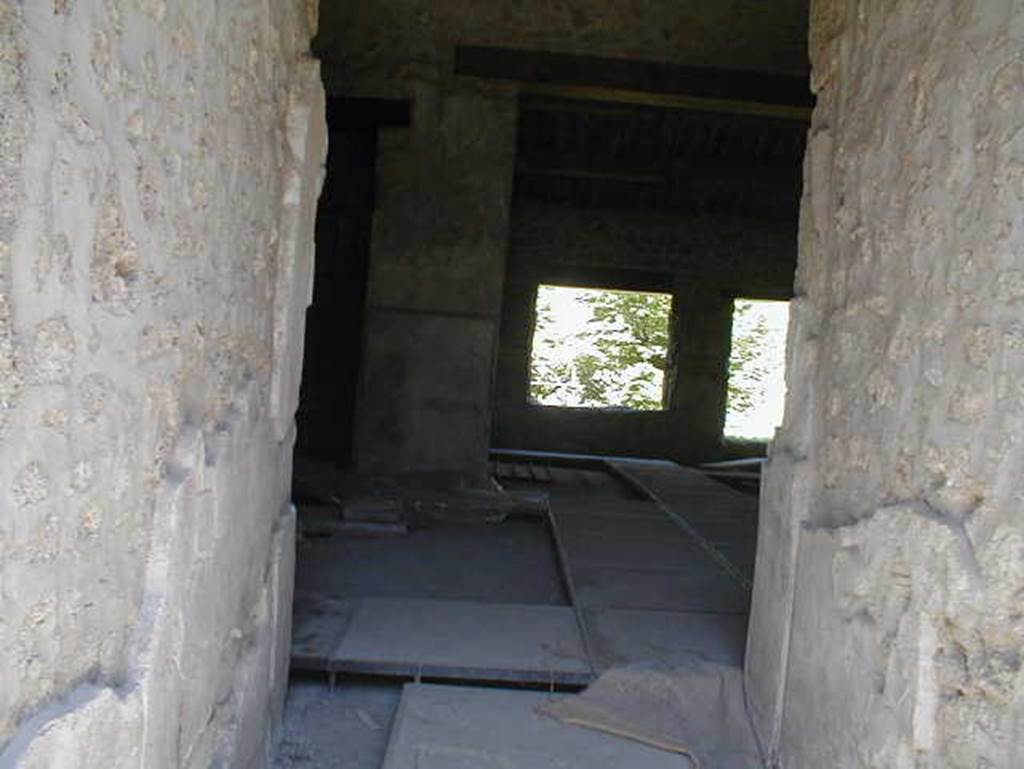
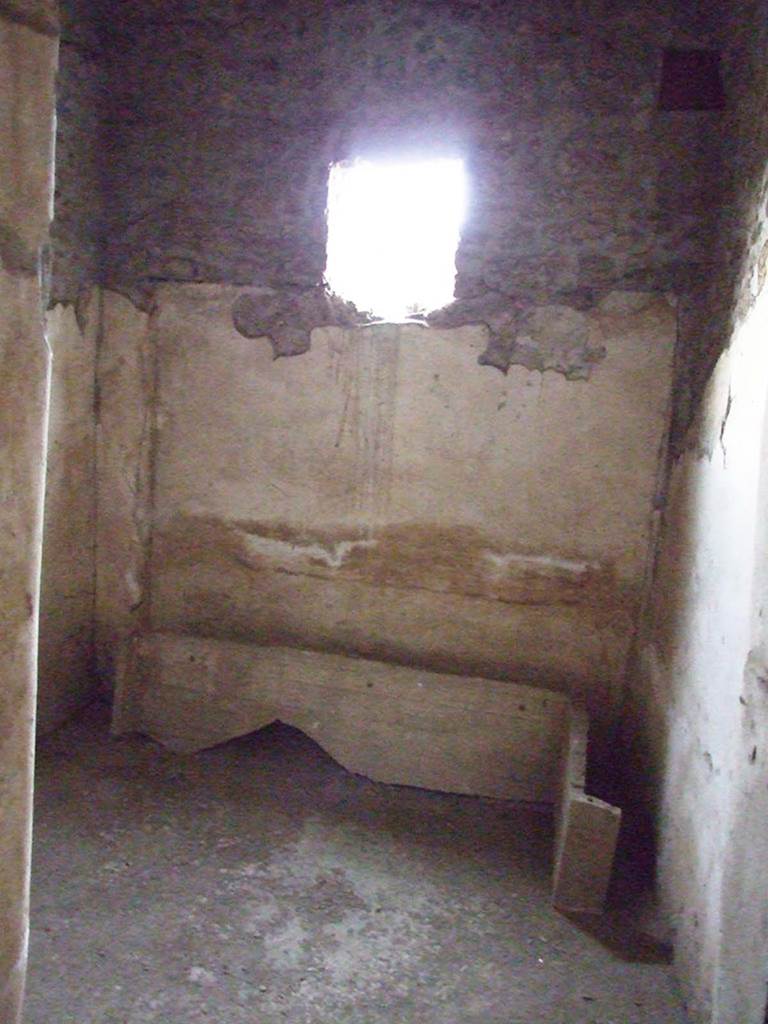
II.9.4 Pompeii. December 2007.  Room 3, looking west into room on south side of entrance doorway.

II.9.4 Pompeii. December 2007. Room 3, looking west into room on south side of entrance doorway.


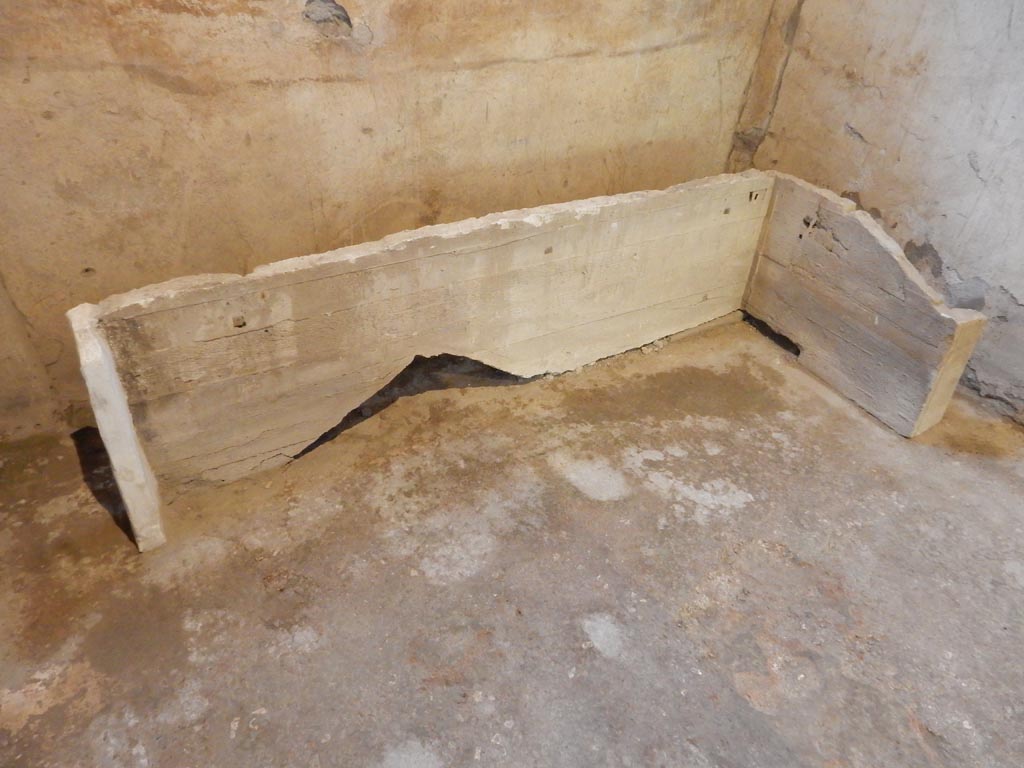
II.9.4, Pompeii. May 2018. Room 3, plaster cast. Photo courtesy of Buzz Ferebee.

II.9.4 Pompeii. May 2018. Room 3, plaster-cast. Photo courtesy of Buzz Ferebee.


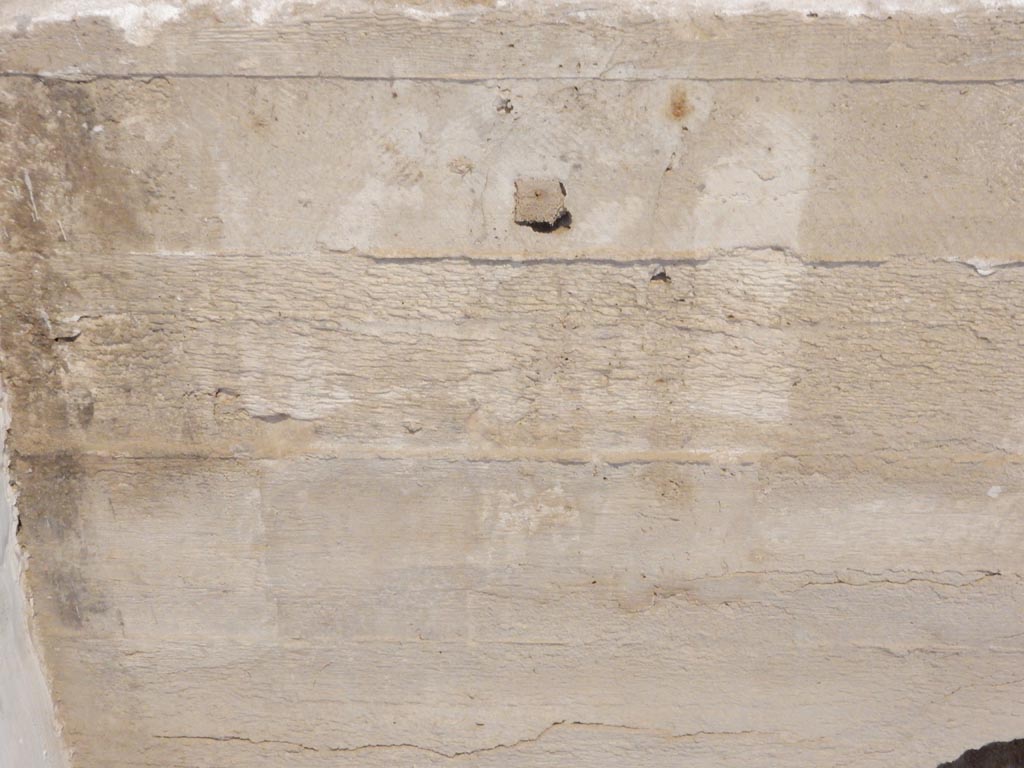
II.9.4, Pompeii. May 2018. Room 3, detail of plaster cast. Photo courtesy of Buzz Ferebee.

II.9.4 Pompeii. May 2018. Room 3, detail of plaster-cast. Photo courtesy of Buzz Ferebee.


II.9.4, Pompeii. May 2018. Room 3, detail of corner of plaster-cast. Photo courtesy of Buzz Ferebee.

II.9.4 Pompeii. May 2018. Room 3, detail of corner of plaster-cast. Photo courtesy of Buzz Ferebee.


II.9.4 Pompeii. December 2023. Room 2, looking east across atrium. Photo courtesy of Miriam Colomer.

II.9.4 Pompeii. December 2023. Room 2, looking east across atrium. Photo courtesy of Miriam Colomer.


II.9.4 Pompeii. December 2018. 
Looking east across room 2 atrium, towards doorway to room 4 in north-east corner of atrium, on left. Room 5 is on the right.
Photo courtesy of Aude Durand.

II.9.4 Pompeii. December 2018.

Looking east across room 2 atrium, towards doorway to room 4 in north-east corner of atrium, on left. Room 5 is on the right.

Photo courtesy of Aude Durand.


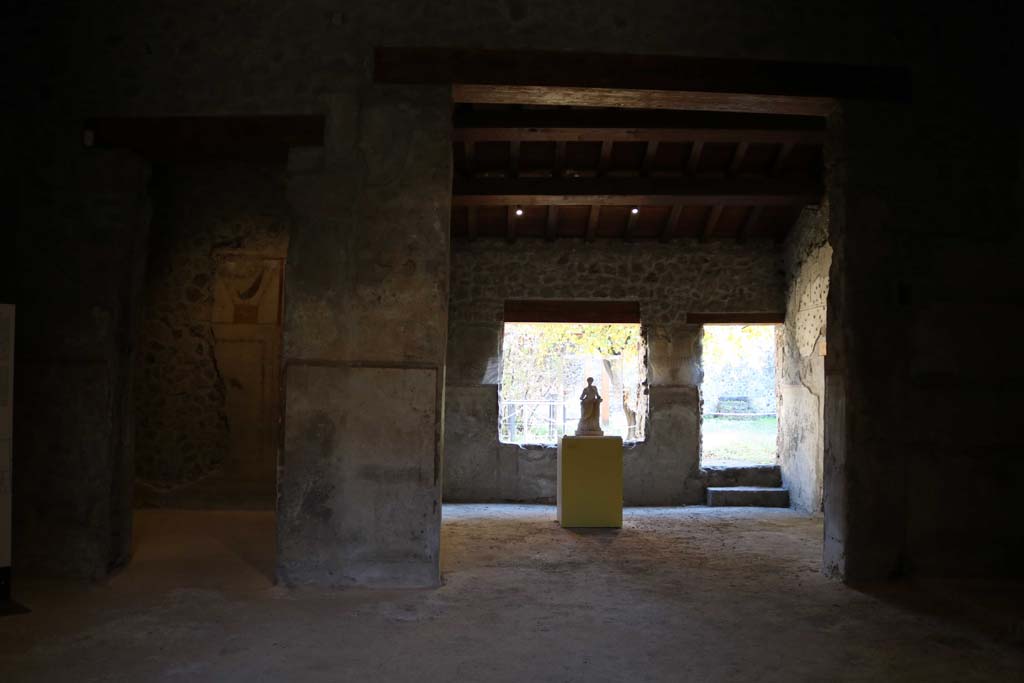
II.9.4 Pompeii. December 2007. Looking across room 2 atrium, towards doorway to room 4 in north-east corner of atrium.
Room 5, is on the right.

II.9.4 Pompeii. December 2007.

Looking across room 2 atrium, towards doorway to room 4 in north-east corner of atrium. Room 5 is on the right.


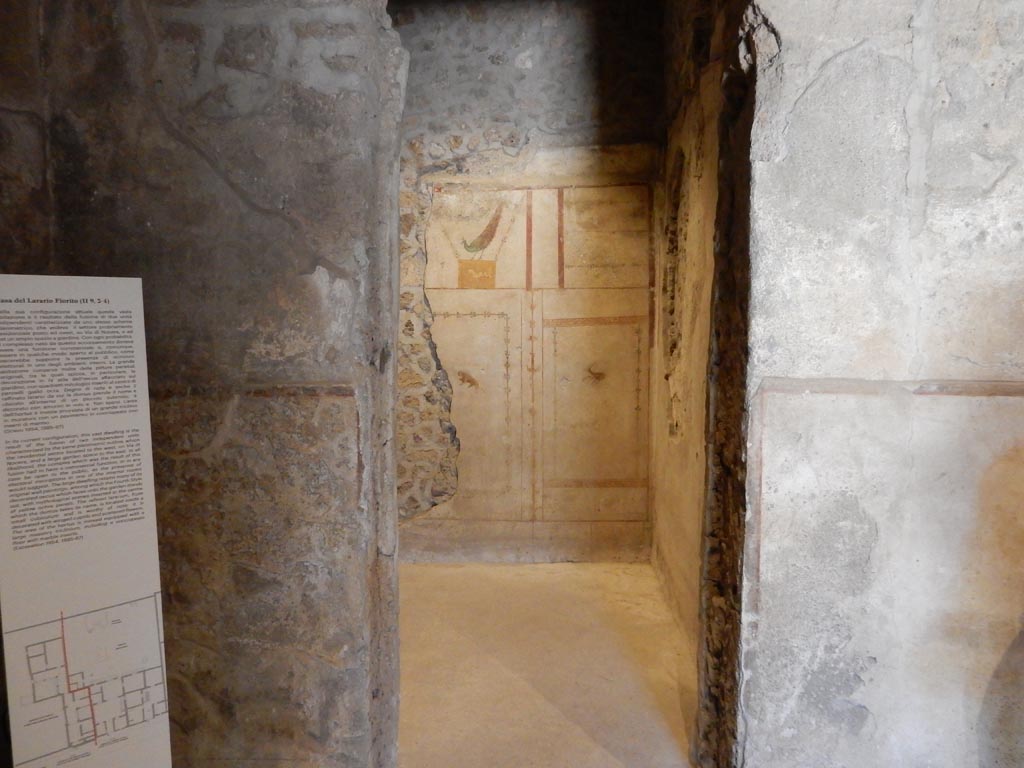
II.9.4, Pompeii. May 2018. Room 4, doorway to room in north-east corner of atrium. Looking east.
Photo courtesy of Buzz Ferebee.

II.9.4 Pompeii. May 2018. Room 4, doorway to room in north-east corner of atrium. Looking east. Photo courtesy of Buzz Ferebee.


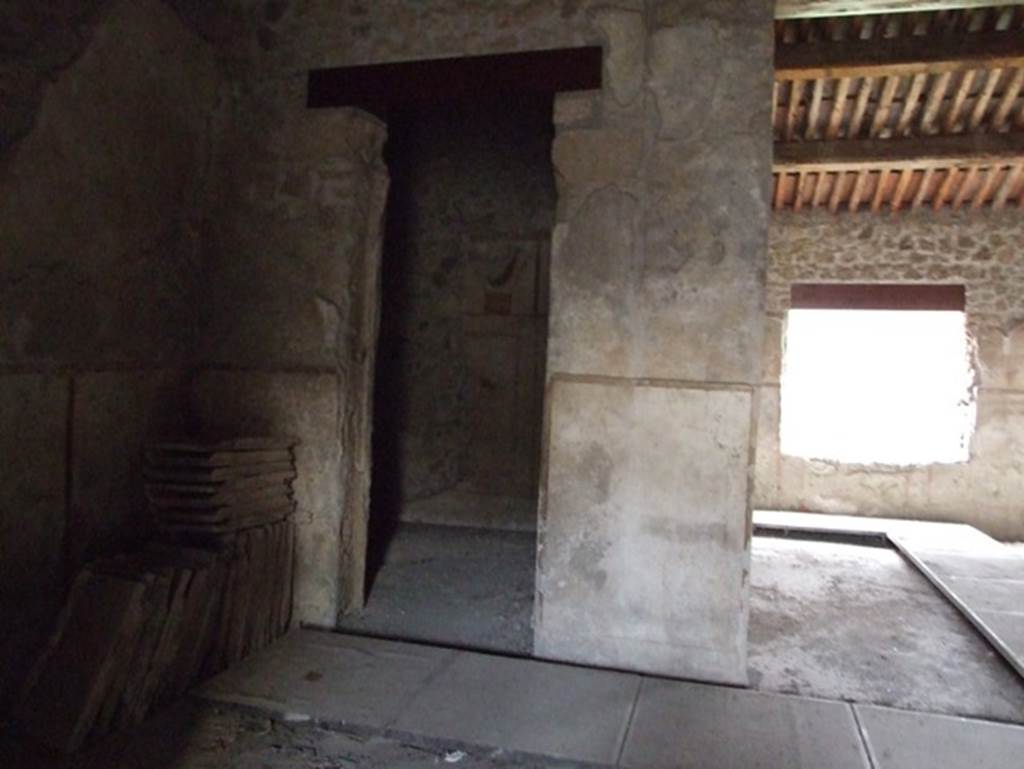
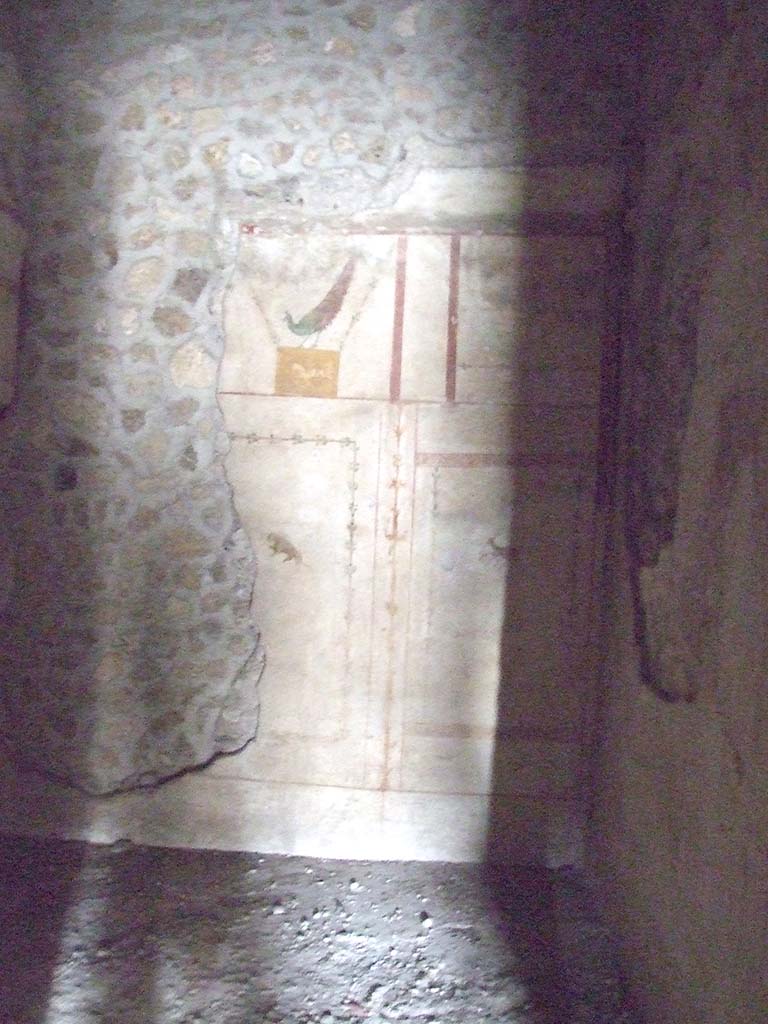
II.9.4 Pompeii. December 2007. Room 4, looking through doorway to room in north-east corner of atrium.  
Painted plaster with painting of a peacock.

II.9.4 Pompeii. December 2007.

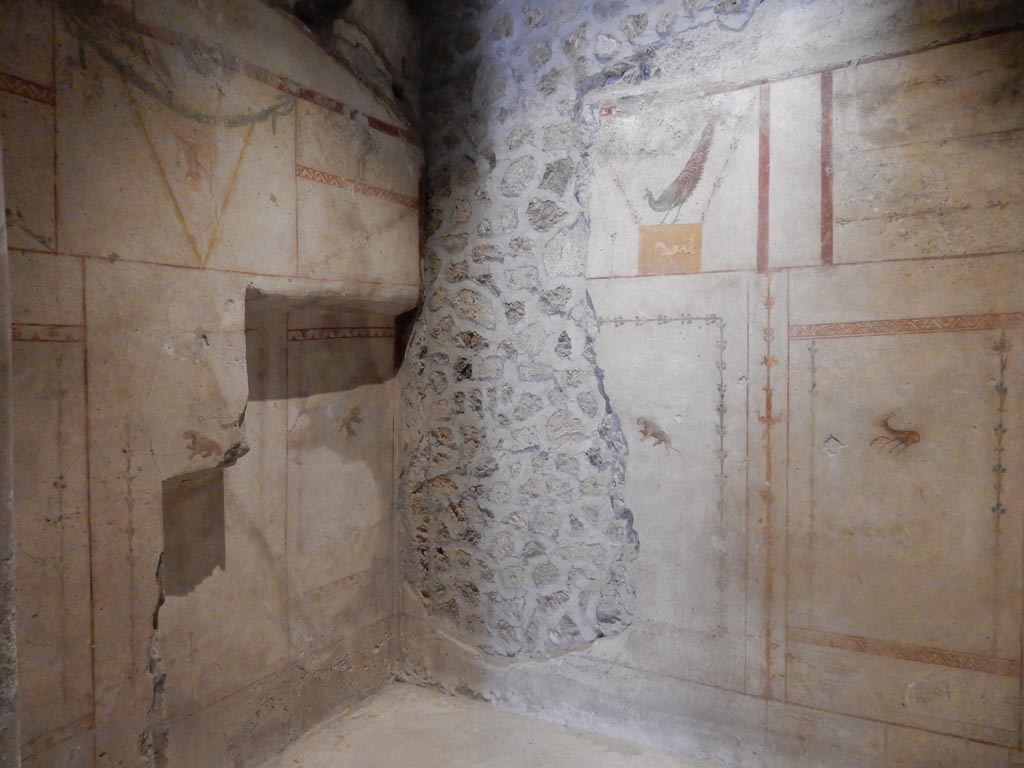
Room 4, looking through doorway to room in north-east corner of atrium with painting of a peacock on east wall.


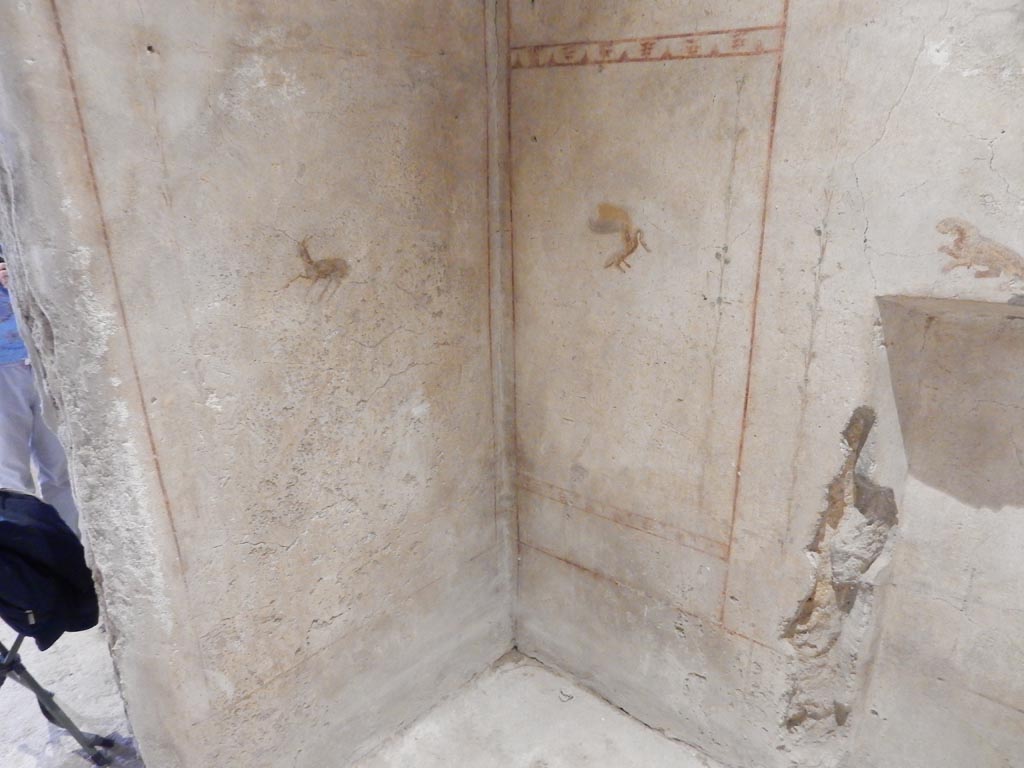
II.9.4, Pompeii. May 2018. Room 4, looking towards north-west corner. Photo courtesy of Buzz Ferebee.

II.9.4 Pompeii. May 2018. Room 4, looking towards north-west corner. Photo courtesy of Buzz Ferebee.


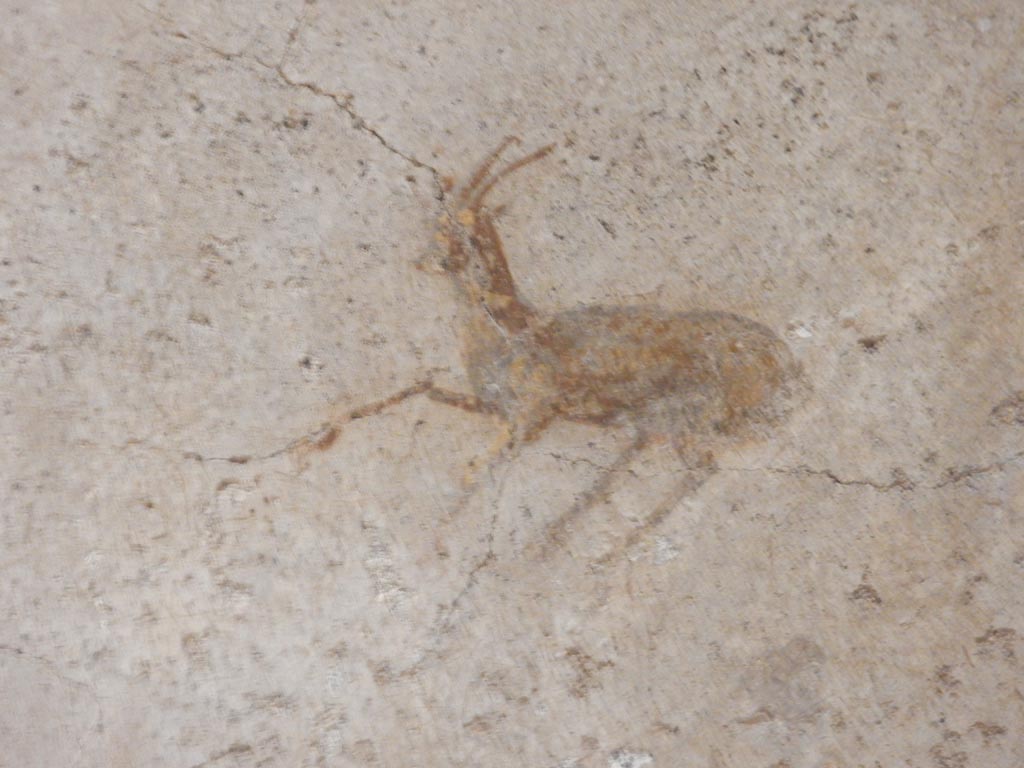
II.9.4, Pompeii. May 2018. Room 4, detail from centre panel on west wall in north-west corner.
Photo courtesy of Buzz Ferebee.

II.9.4 Pompeii. May 2018. Room 4, detail from centre panel on west wall in north-west corner. Photo courtesy of Buzz Ferebee.


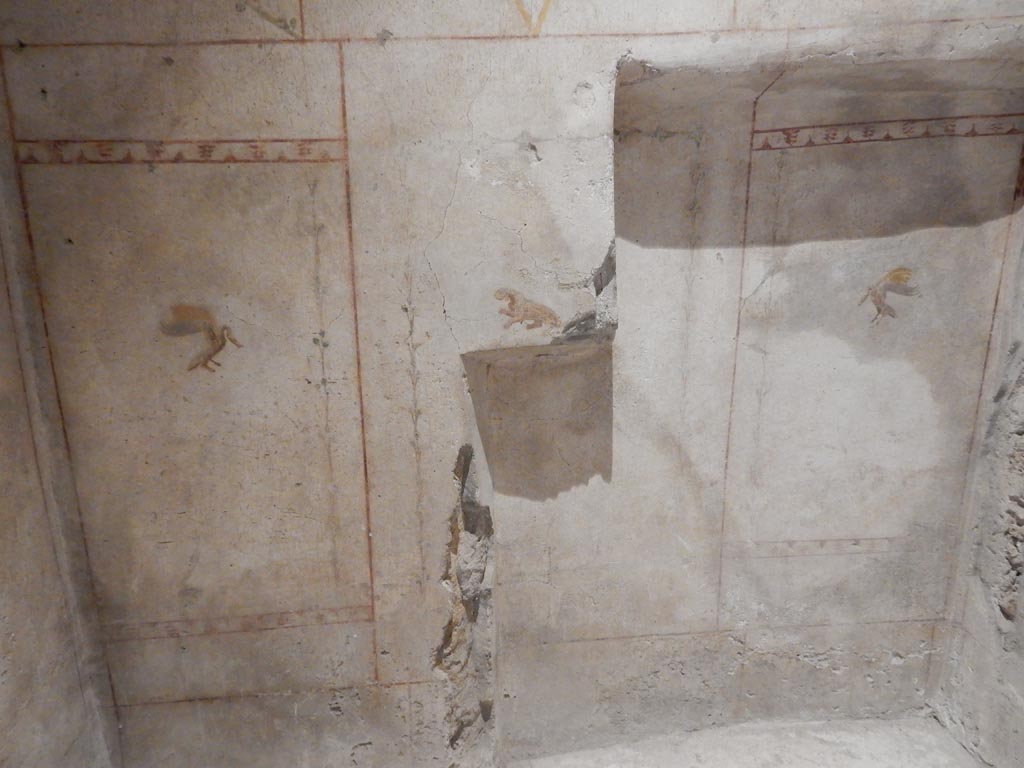
II.9.4, Pompeii. May 2018. Room 4, north wall. Photo courtesy of Buzz Ferebee.

II.9.4 Pompeii. May 2018. Room 4, north wall. Photo courtesy of Buzz Ferebee.


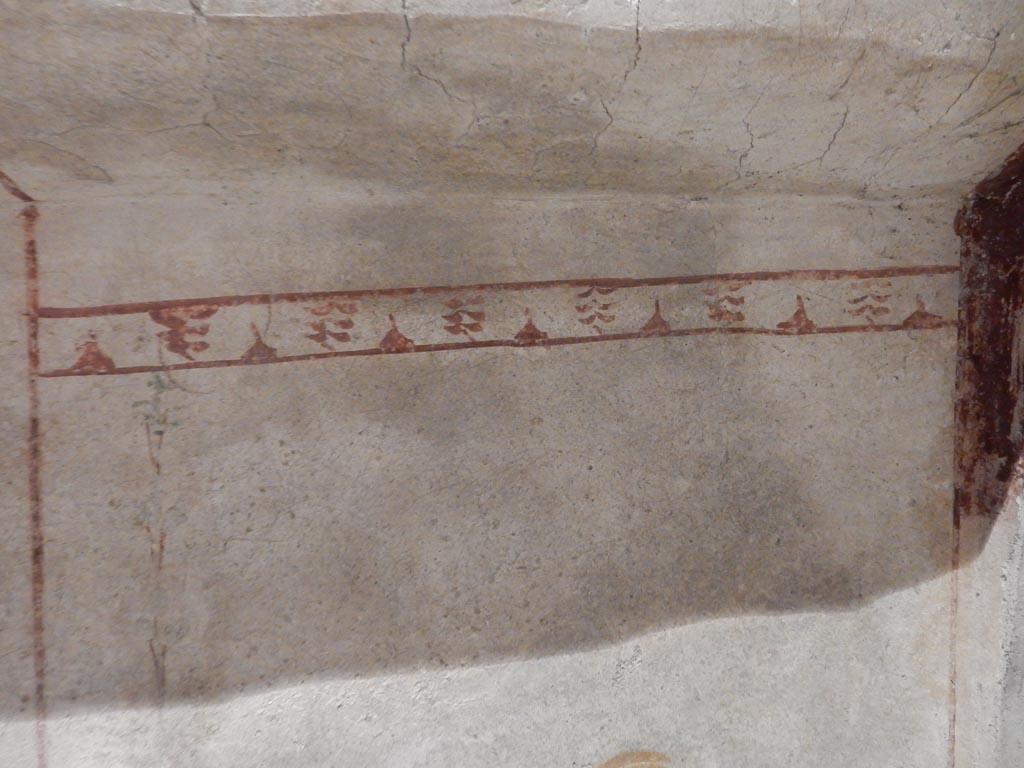
II.9.4, Pompeii. May 2018. Room 4, upper north wall. Photo courtesy of Buzz Ferebee.

II.9.4 Pompeii. May 2018. Room 4, upper north wall. Photo courtesy of Buzz Ferebee.


II.9.4 Pompeii. 2017/2018/2019. 
Room 4, looking along north wall towards north-east corner. Photo courtesy of Giuseppe Ciaramella.
II.9.4 Pompeii. 2018.

Room 4, looking along north wall towards north-east corner. Photo courtesy of Giuseppe Ciaramella.
 

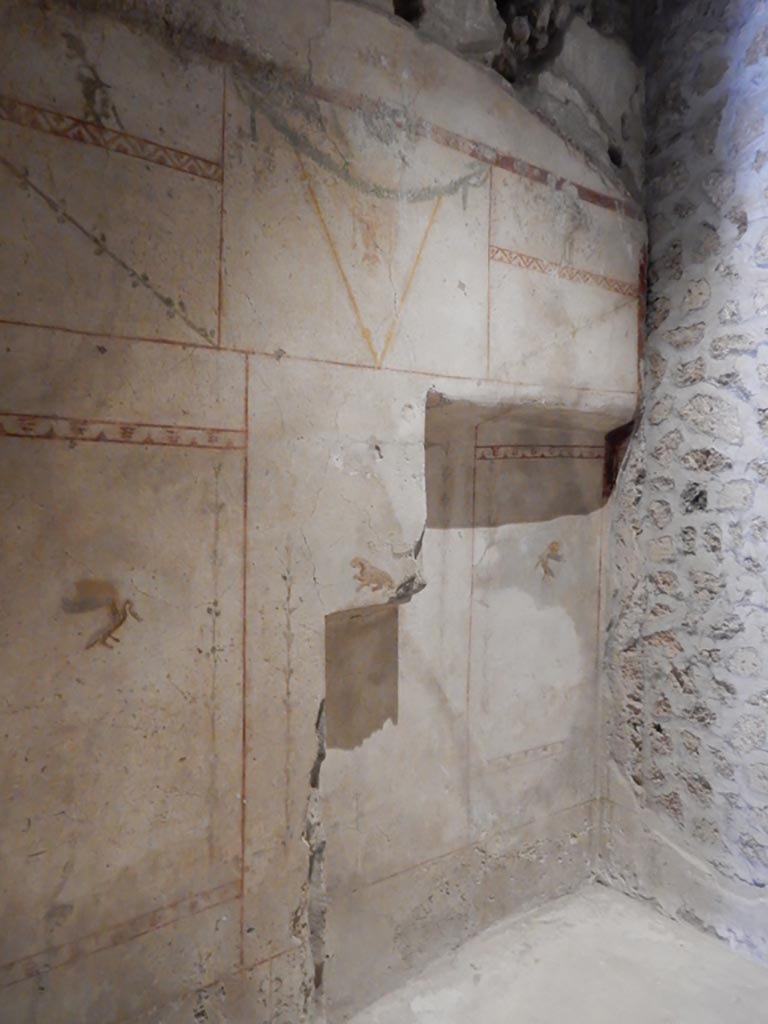
II.9.4, Pompeii. May 2018. Room 4, north wall and north-east corner.
Photo courtesy of Buzz Ferebee.

II.9.4 Pompeii. May 2018. Room 4, north wall and north-east corner. Photo courtesy of Buzz Ferebee.


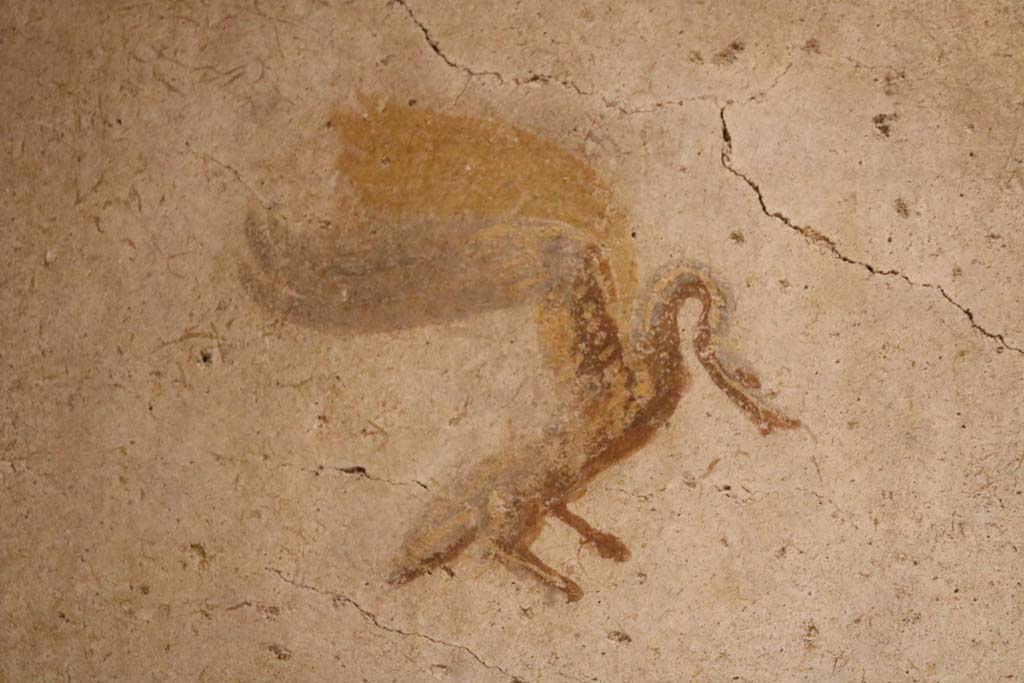
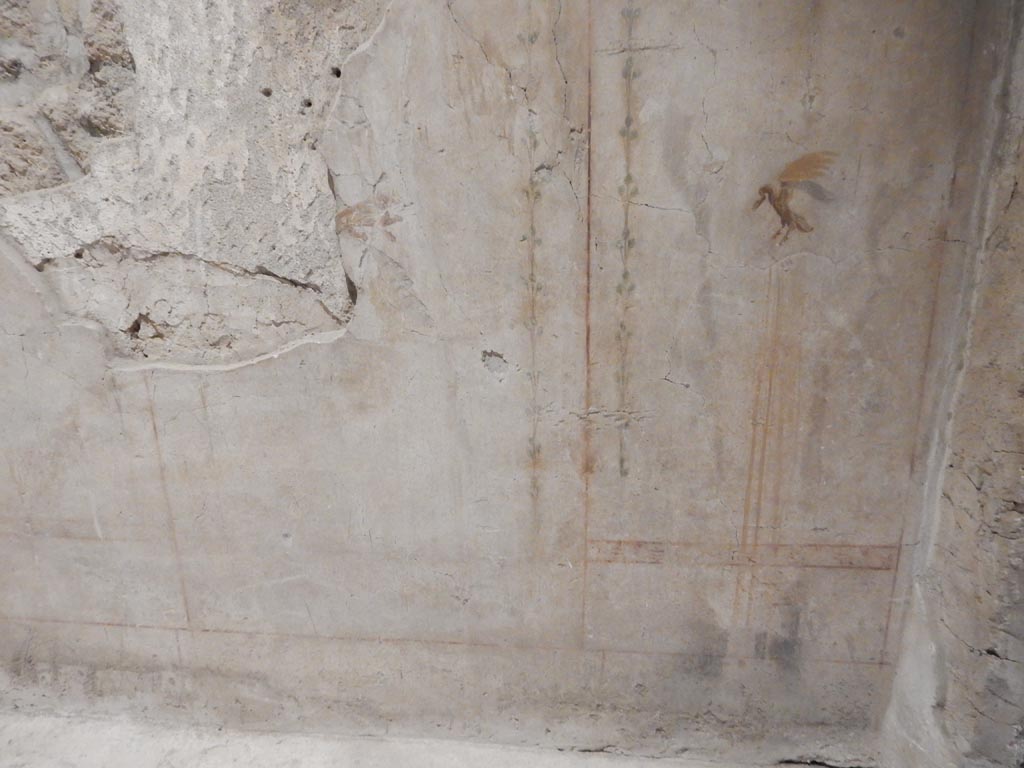
II.9.4 Pompeii. December. Room 4, north wall at west end, detail of swan from centre of panels. Photo courtesy of Aude Durand.

II.9.4 Pompeii. December. Room 4, north wall at west end, detail of swan from centre of panels. Photo courtesy of Aude Durand.


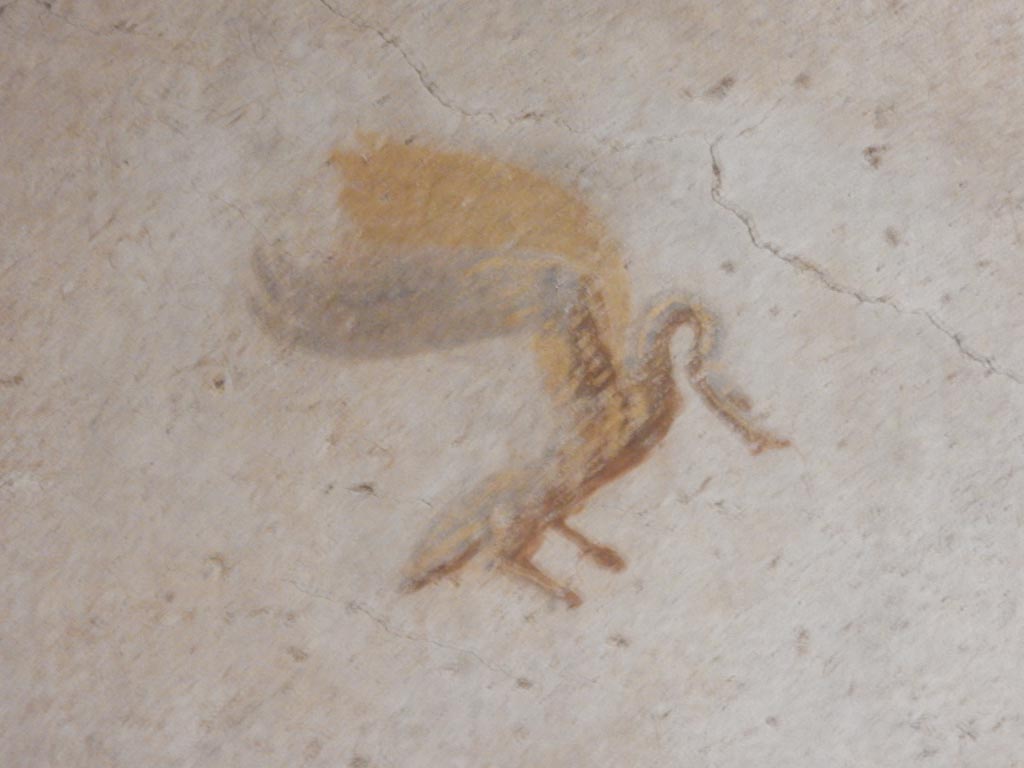
II.9.4 Pompeii. May 2018. Room 4, north wall, detail of swan from centre of panels. Photo courtesy of Buzz Ferebee.

II.9.4 Pompeii. May 2018. Room 4, north wall at west end, detail of swan from centre of panels. Photo courtesy of Buzz Ferebee.


II.9.4 Pompeii. May 2018. Room 4, north wall, detail of panther from centre of panel. Photo courtesy of Buzz Ferebee.

II.9.4 Pompeii. May 2018. Room 4, north wall, detail of panther from centre of panel. Photo courtesy of Buzz Ferebee.


II.9.4 Pompeii. May 2018. Room 4, north wall, detail of swan from centre of panels. Photo courtesy of Buzz Ferebee.

II.9.4 Pompeii. May 2018. Room 4, north wall at east end, detail of swan from centre of panels. Photo courtesy of Buzz Ferebee.


II.9.4, Pompeii. May 2018. Room 4, recess against north wall.
Photo courtesy of Buzz Ferebee.

II.9.4 Pompeii. May 2018. Room 4, recess against north wall. Photo courtesy of Buzz Ferebee.


II.9.4, Pompeii. May 2018. Room 4, recess in north-east corner. Photo courtesy of Buzz Ferebee.

II.9.4 Pompeii. May 2018. Room 4, recess in north-east corner. Photo courtesy of Buzz Ferebee.


II.9.4, Pompeii. May 2018. Room 4, detail of painted decoration in recess. Photo courtesy of Buzz Ferebee.

II.9.4 Pompeii. May 2018. Room 4, detail of painted decoration in recess. Photo courtesy of Buzz Ferebee.


II.9.4, Pompeii. May 2018. Room 4, looking towards north-east corner, with recess.
Photo courtesy of Buzz Ferebee.

II.9.4 Pompeii. May 2018. Room 4, looking towards north-east corner, with recess. Photo courtesy of Buzz Ferebee.


II.9.4 Pompeii. 2017/2018/2019.
Room 4, looking towards east wall. Photo courtesy of Giuseppe Ciaramella.

II.9.4 Pompeii. 2018.

Room 4, looking towards east wall. Photo courtesy of Giuseppe Ciaramella.


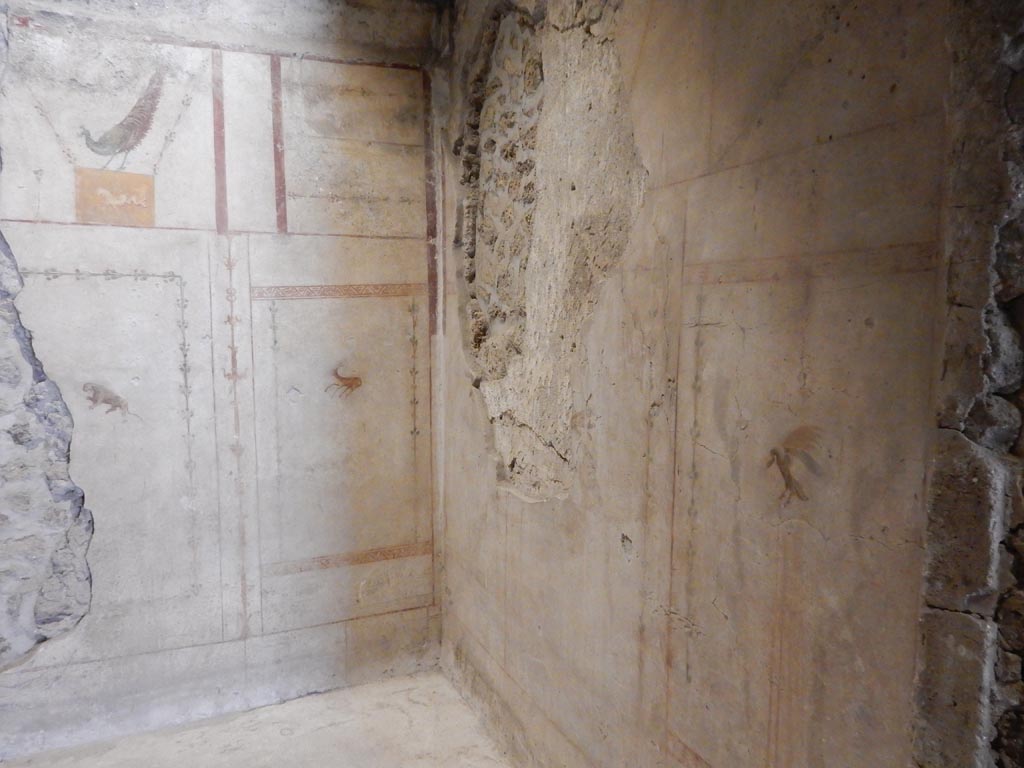
II.9.4 Pompeii. December 2018. 
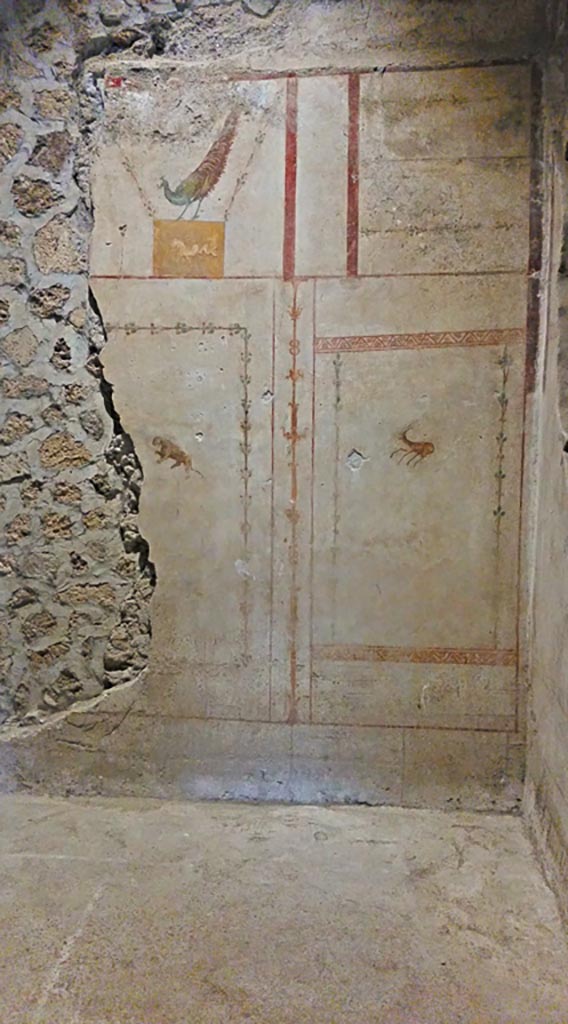
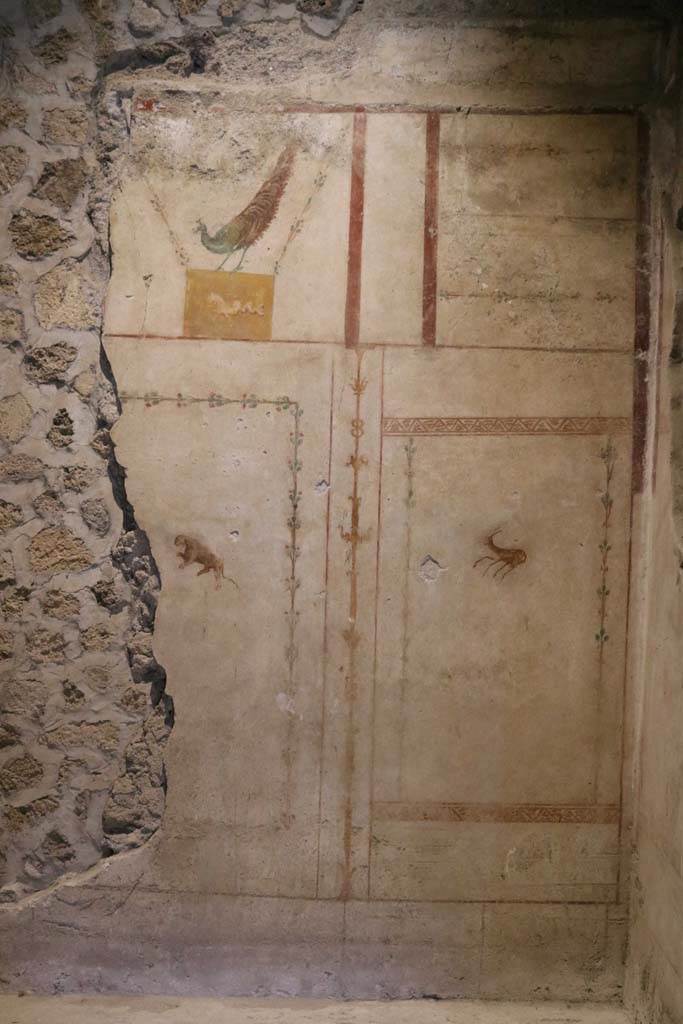
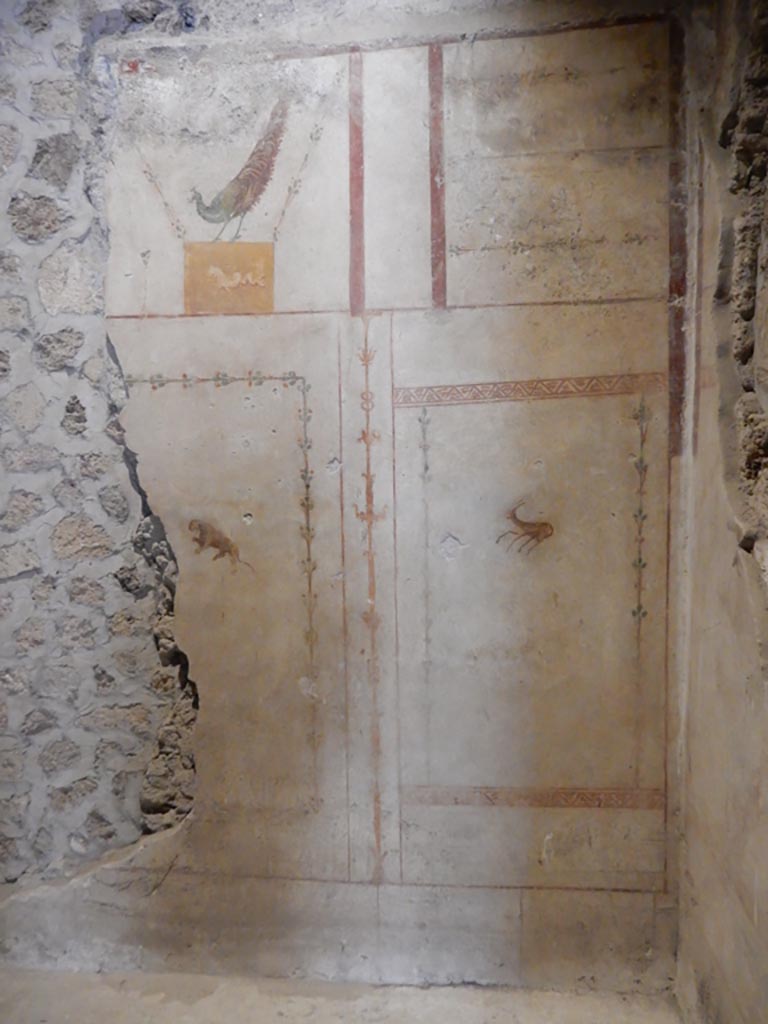
Room 4, east wall, centre and south end with painted decoration. Photo courtesy of Aude Durand.

II.9.4 Pompeii. December 2018.

Room 4, east wall, centre and south end with painted decoration. Photo courtesy of Aude Durand.


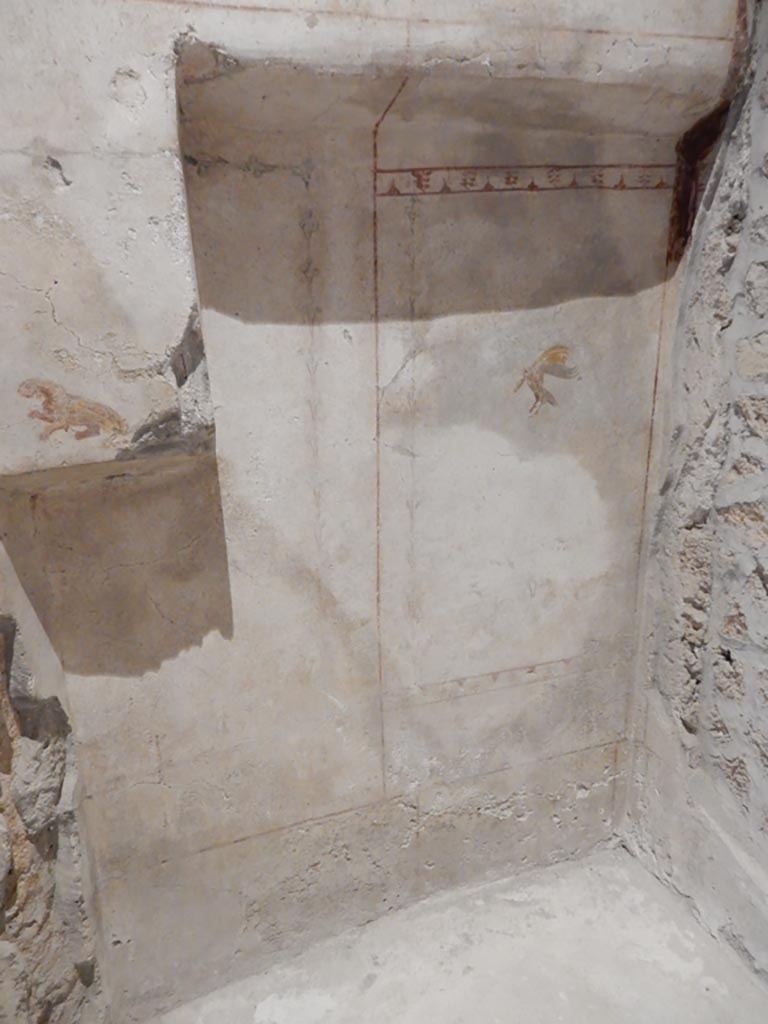
II.9.4, Pompeii. May 2018. Room 4, east wall at south end with painted decoration. 
Photo courtesy of Buzz Ferebee.

II.9.4 Pompeii. May 2018.

Room 4, east wall, centre and south end with painted decoration. Photo courtesy of Buzz Ferebee.


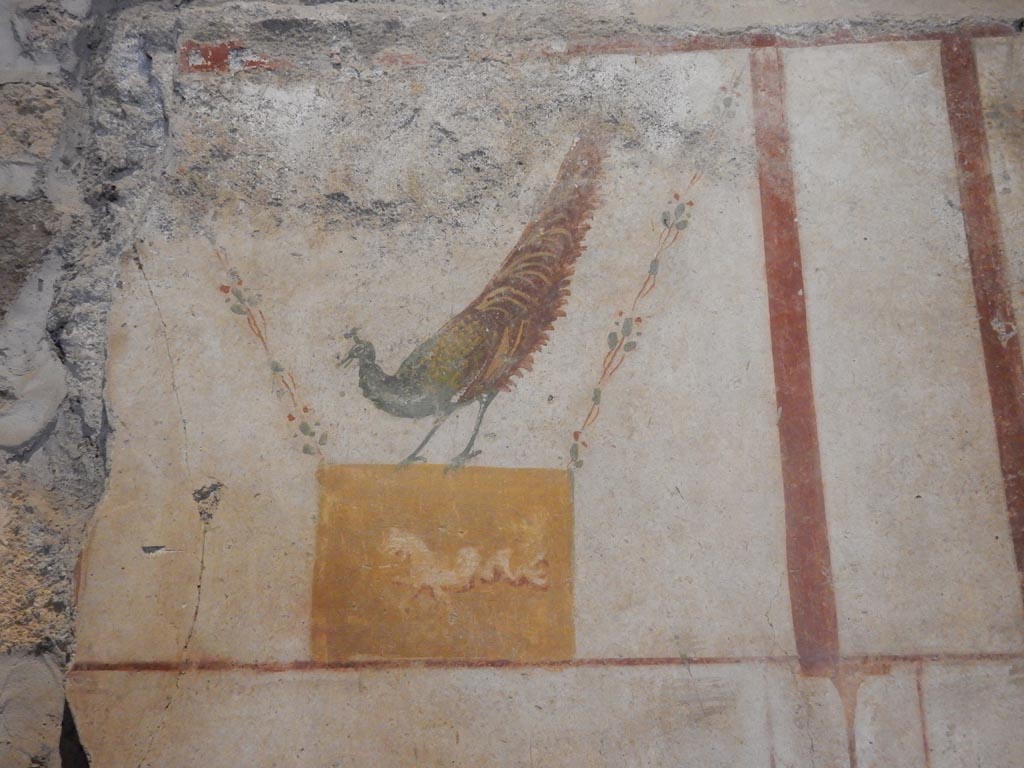
II.9.4 Pompeii. 2018.
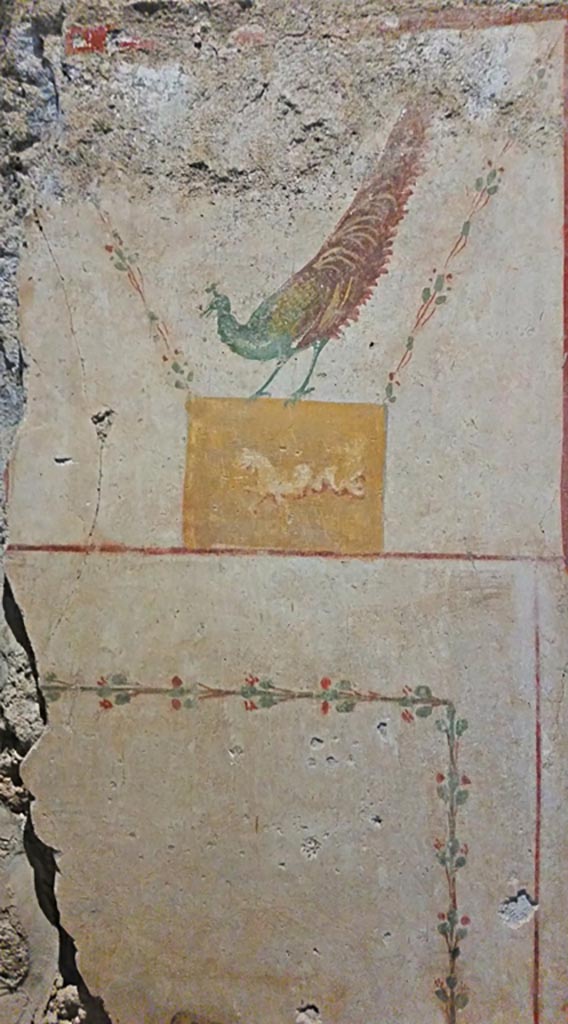
Room 4, detail of painted peacock from centre of upper east wall. 
Photo courtesy of Giuseppe Ciaramella.

II.9.4 Pompeii. 2018.

Room 4, detail of painted peacock from centre of upper east wall.

Photo courtesy of Giuseppe Ciaramella.


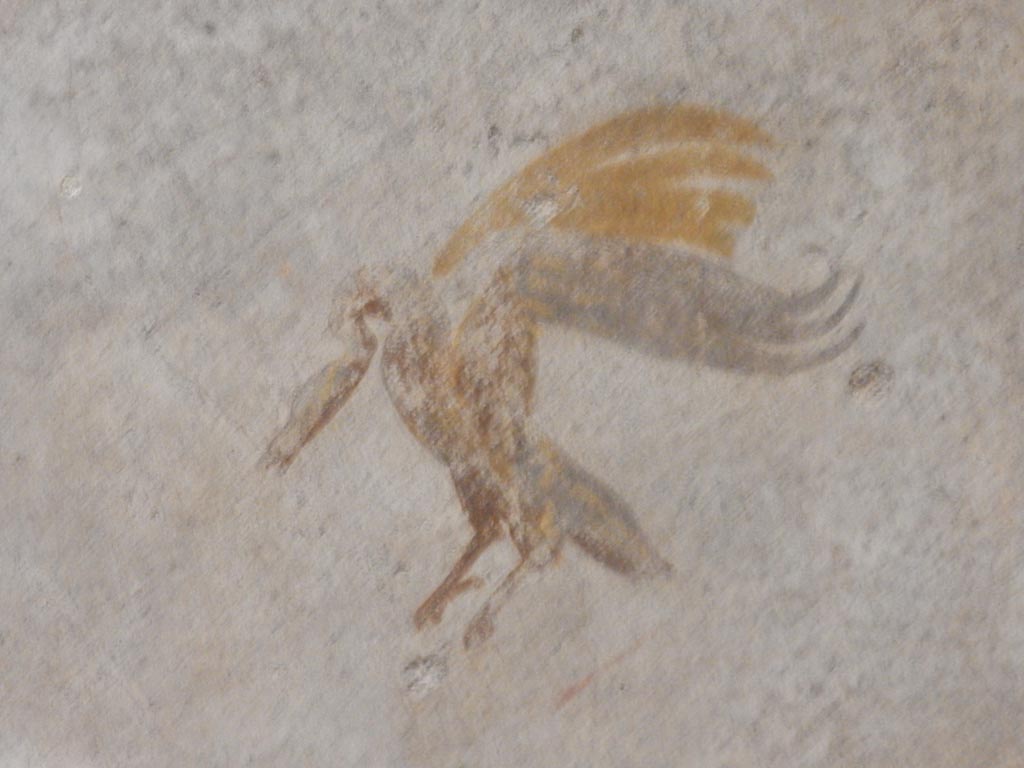
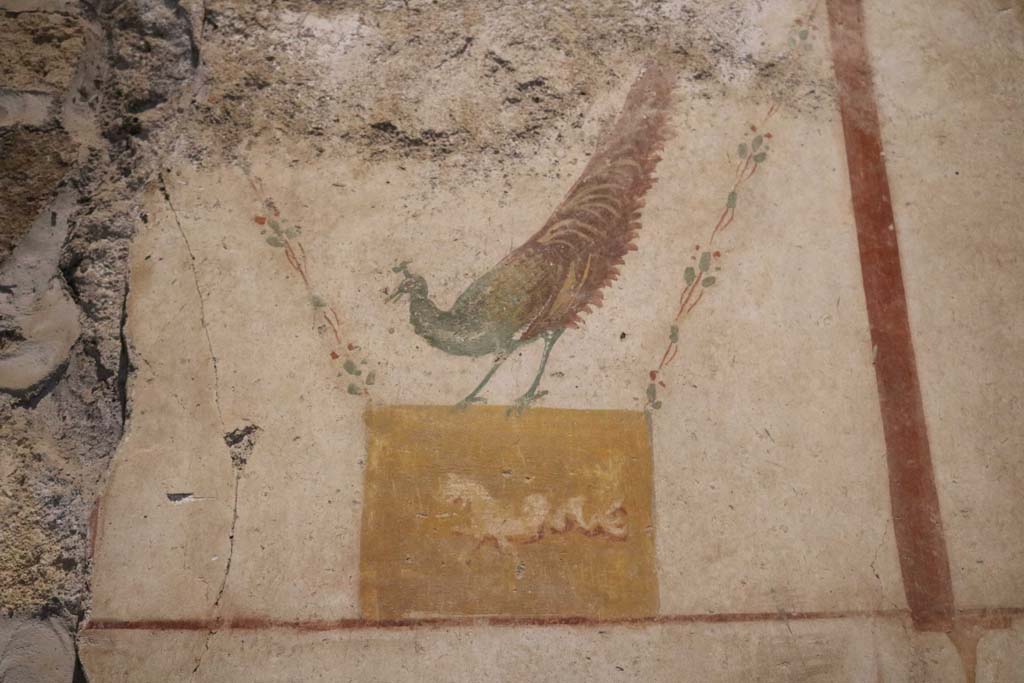
II.9.4 Pompeii. December 2018. Room 4, detail of painted peacock from centre of upper east wall. Photo courtesy of Aude Durand.

II.9.4 Pompeii. December 2018. Room 4, detail of painted peacock from centre of upper east wall. Photo courtesy of Aude Durand.


II.9.4, Pompeii. May 2018. Room 4, painted peacock from east wall. Photo courtesy of Buzz Ferebee.
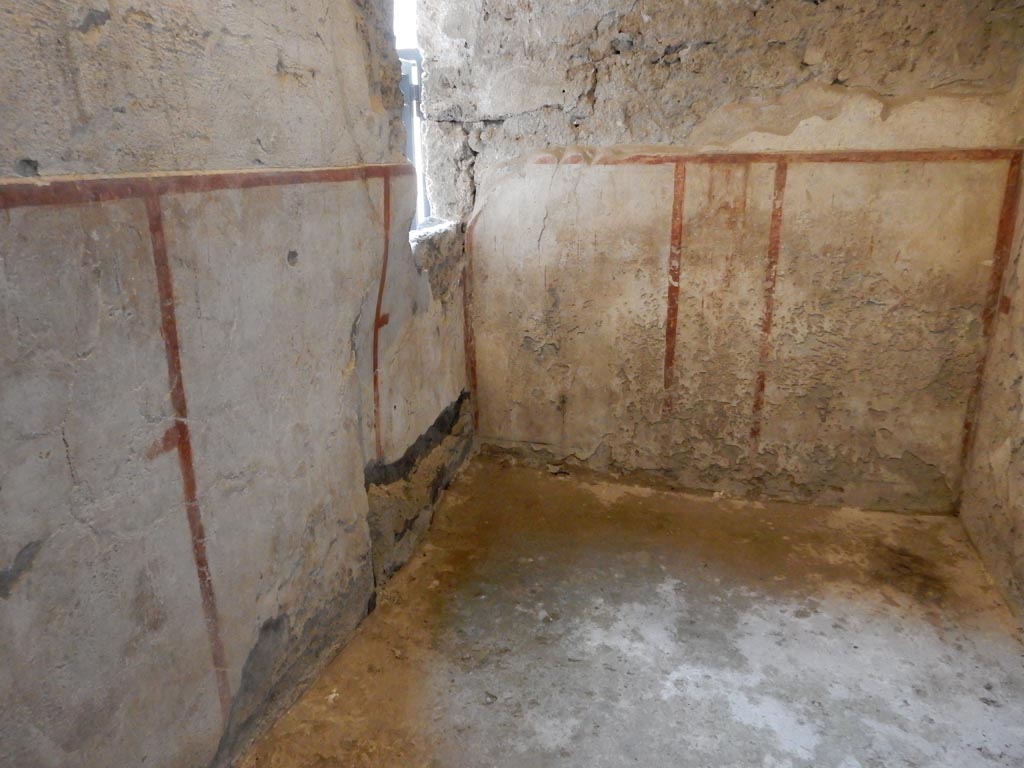
II.9.4 Pompeii. May 2018. Room 4, detail of painted peacock from centre of upper east wall. Photo courtesy of Buzz Ferebee.


II.9.4 Pompeii. December 2023.
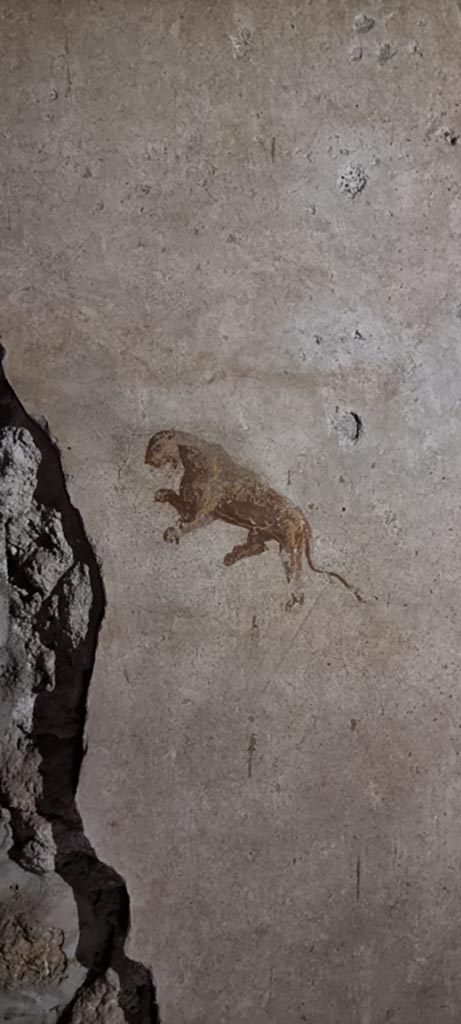
Room 4, panther from centre of middle panel on east wall. 
Photo courtesy of Miriam Colomer.

II.9.4 Pompeii. December 2023.

Room 4, panther from centre of middle panel on east wall.

Photo courtesy of Miriam Colomer.


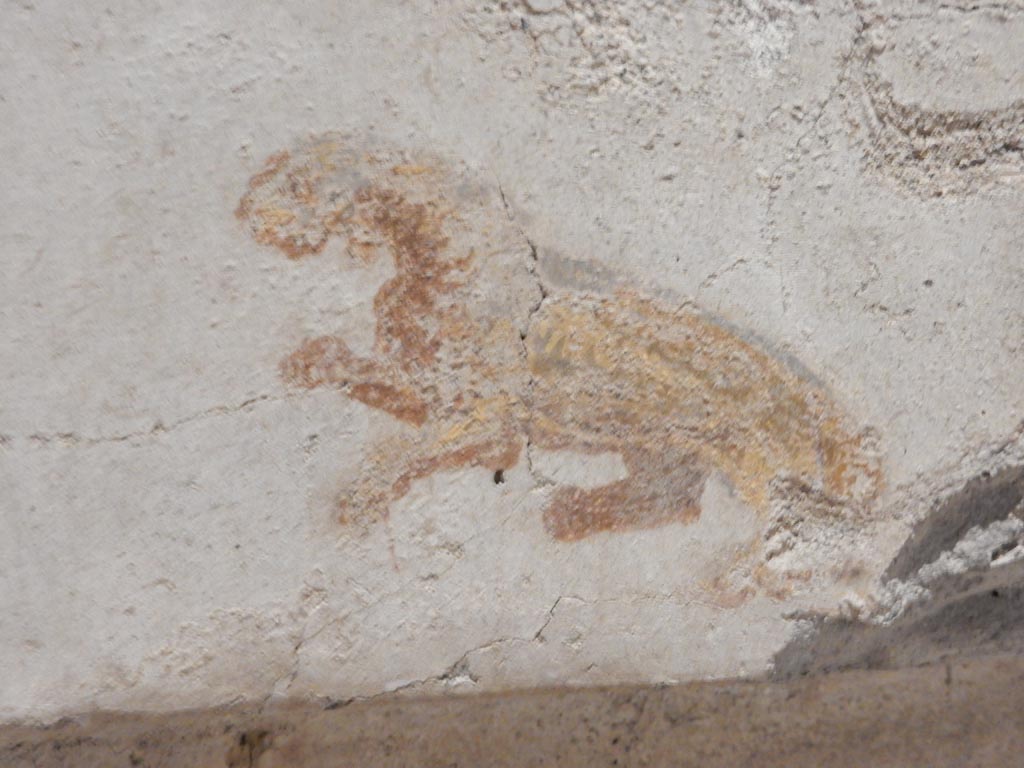
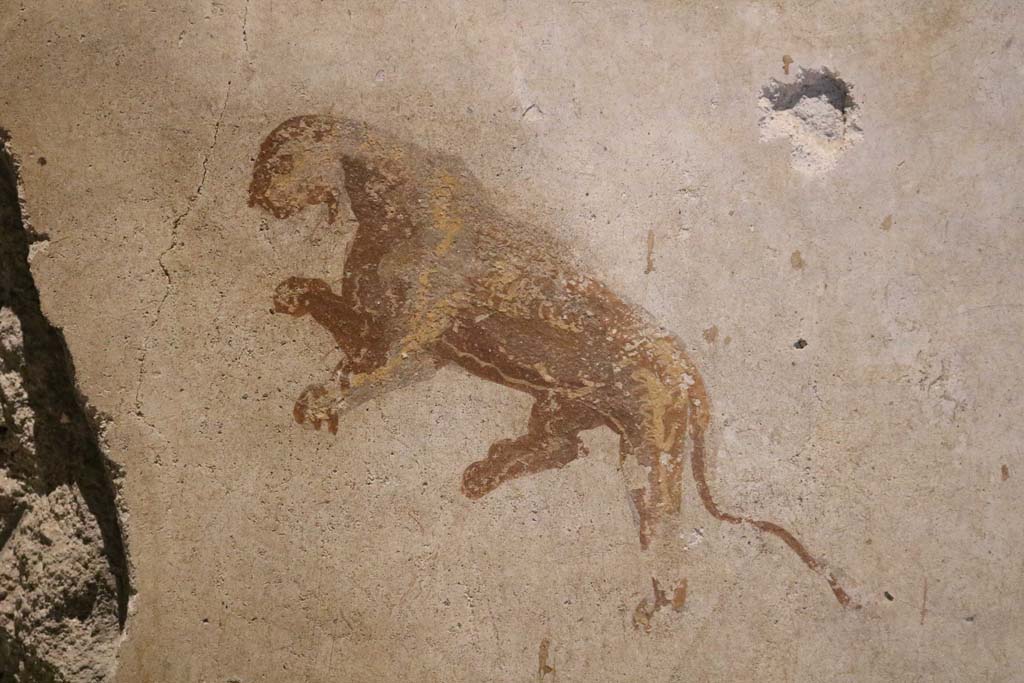
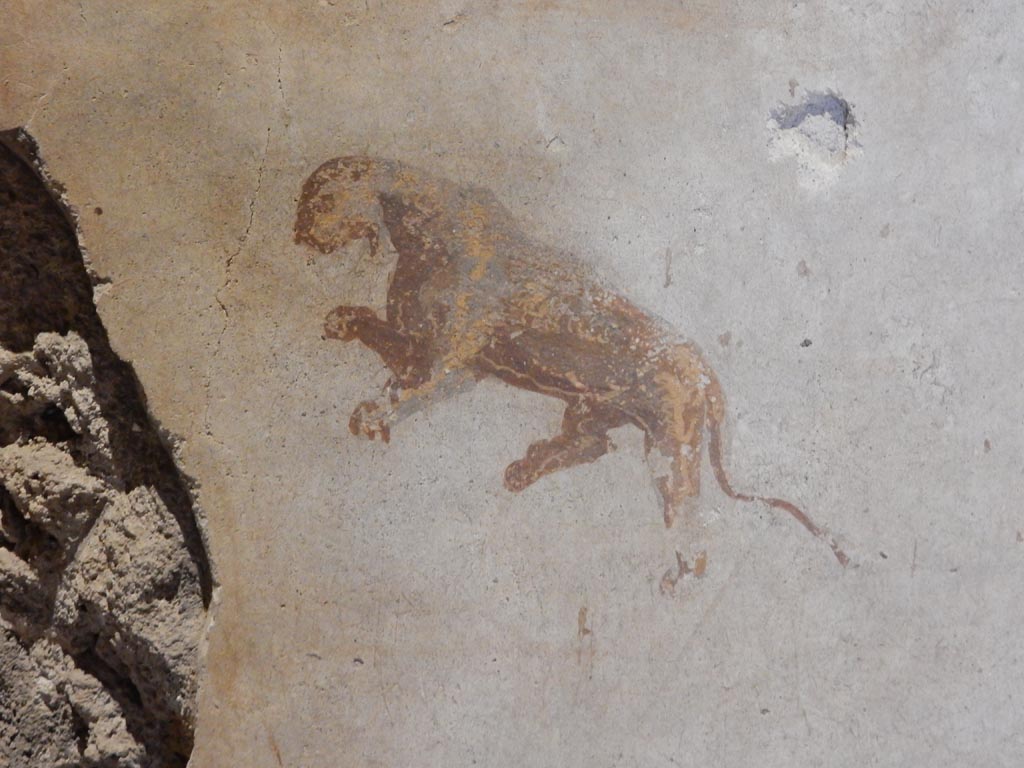
II.9.4 Pompeii. December 2018. Room 4, detail of panther from centre of middle panel on east wall. Photo courtesy of Aude Durand.

II.9.4 Pompeii. December 2018. Room 4, detail of panther from centre of middle panel on east wall. Photo courtesy of Aude Durand.


II.9.4 Pompeii. May 2018. Room 4, detail of panther from centre of middle panel on east wall.
Photo courtesy of Buzz Ferebee.

II.9.4 Pompeii. May 2018. Room 4, detail of panther from centre of middle panel on east wall. Photo courtesy of Buzz Ferebee.


II.9.4 Pompeii. December 2023.
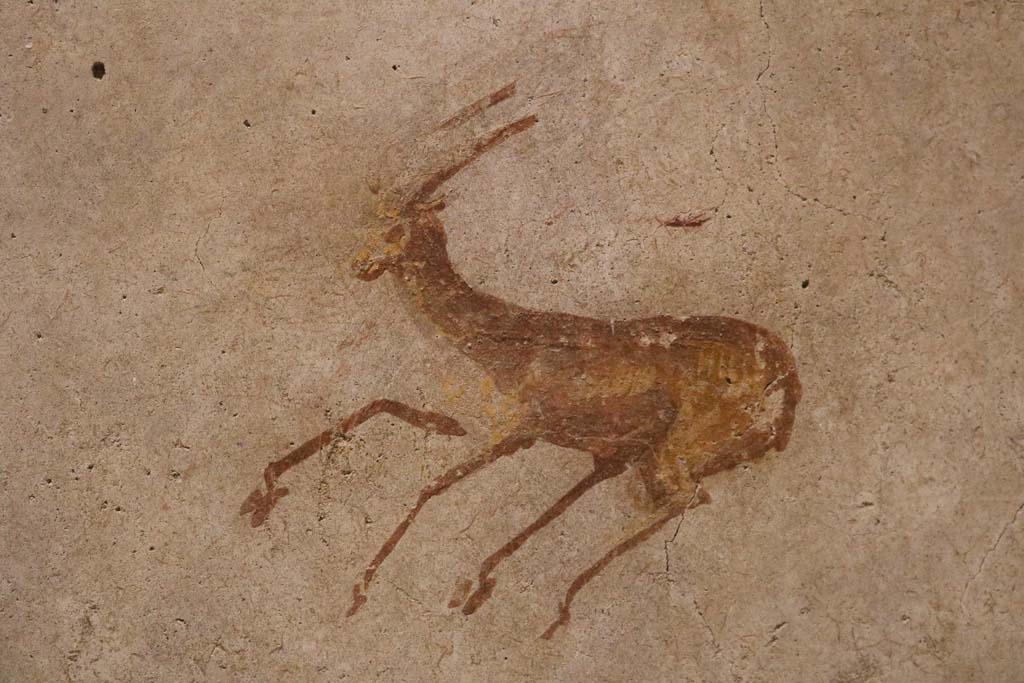
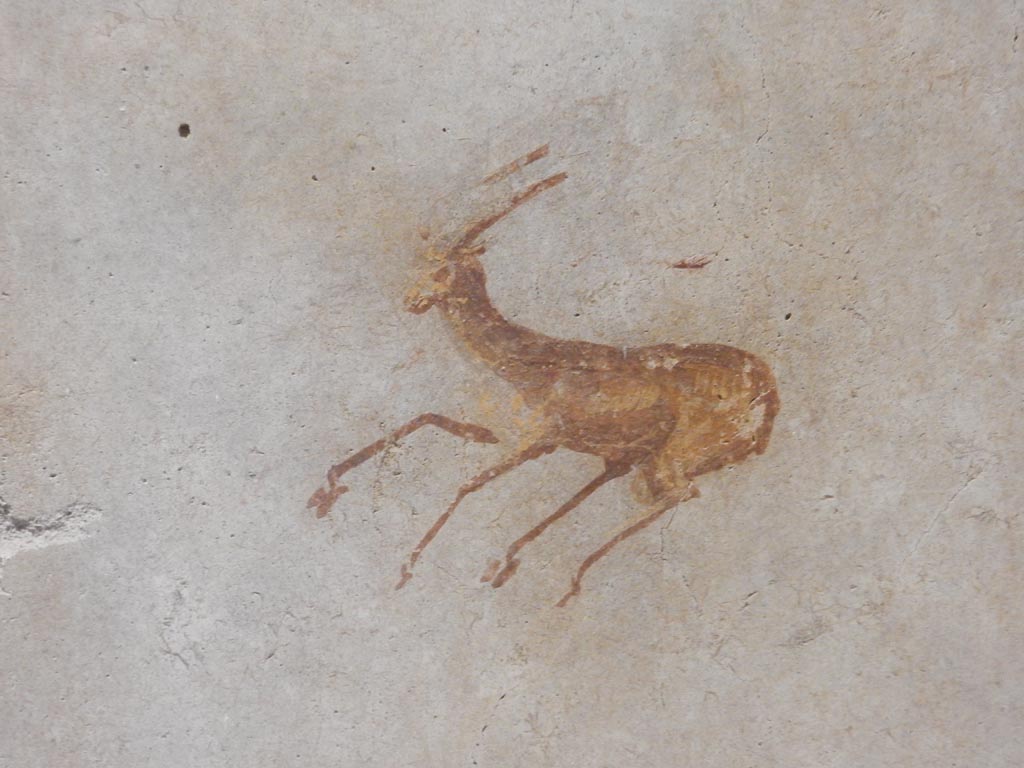
Room 4, detail of deer from centre of panel at south end of east wall. 
Photo courtesy of Miriam Colomer.

II.9.4 Pompeii. December 2023.

Room 4, detail of deer from centre of panel at south end of east wall.

Photo courtesy of Miriam Colomer.


II.9.4 Pompeii. December 2018. Room 4, detail of deer from centre of panel on east wall at south end.Photo courtesy of Aude Durand.

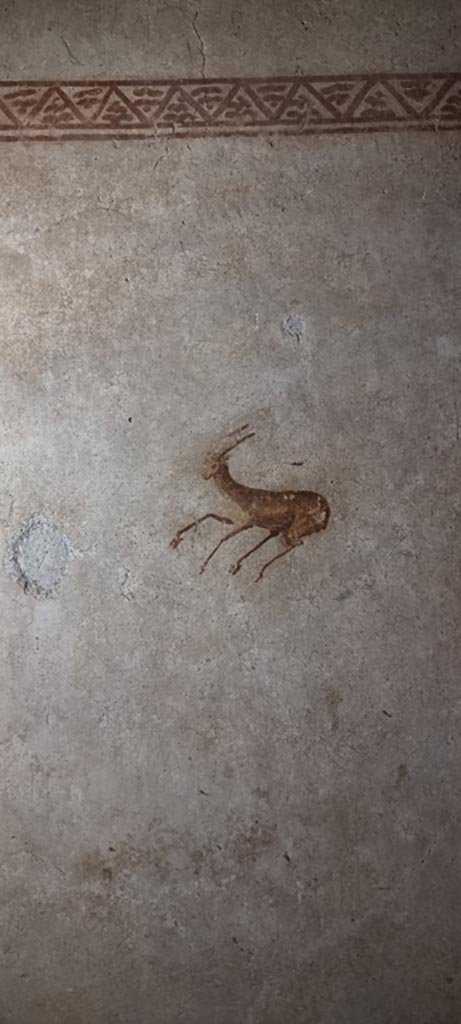
II.9.4 Pompeii. December 2018. Room 4, detail of deer from centre of panel at south end of east wall. Photo courtesy of Aude Durand.


II.9.4 Pompeii. May 2018. Room 4, detail of deer from centre of panel on east wall. Photo courtesy of Buzz Ferebee.

II.9.4 Pompeii. May 2018. Room 4, detail of deer from centre of panel on east wall at south end. Photo courtesy of Buzz Ferebee.


II.9.4, Pompeii. May 2018. Room 4, looking towards south-east corner. Photo courtesy of Buzz Ferebee.
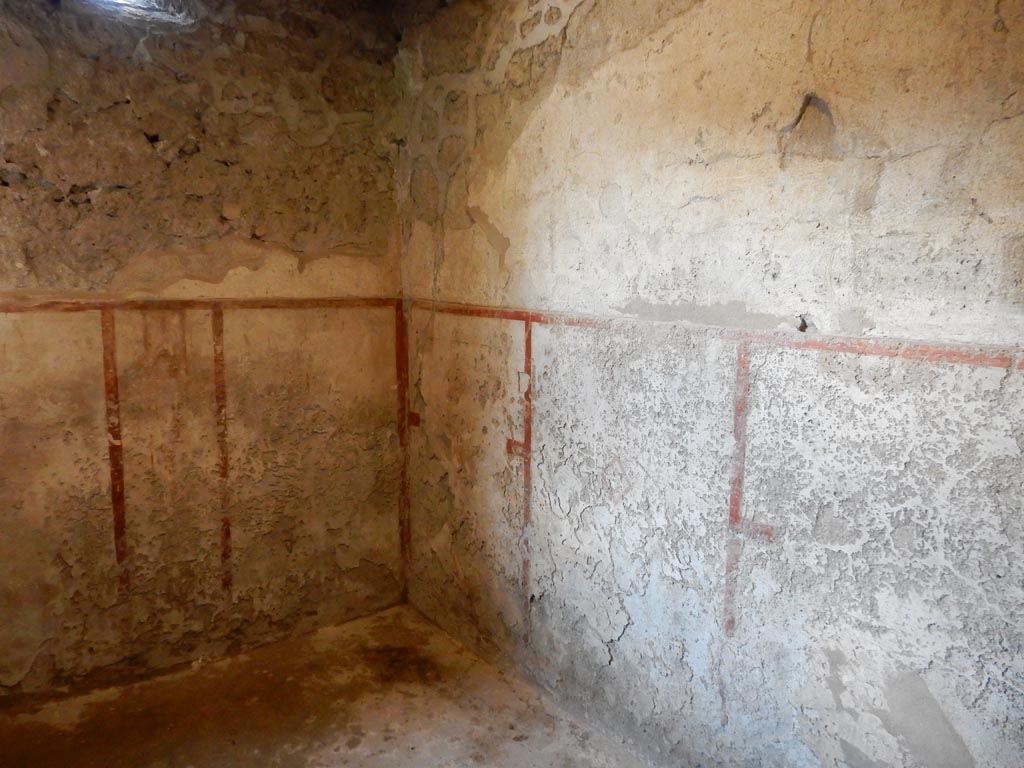
II.9.4 Pompeii. May 2018. Room 4, looking towards south-east corner. Photo courtesy of Buzz Ferebee.
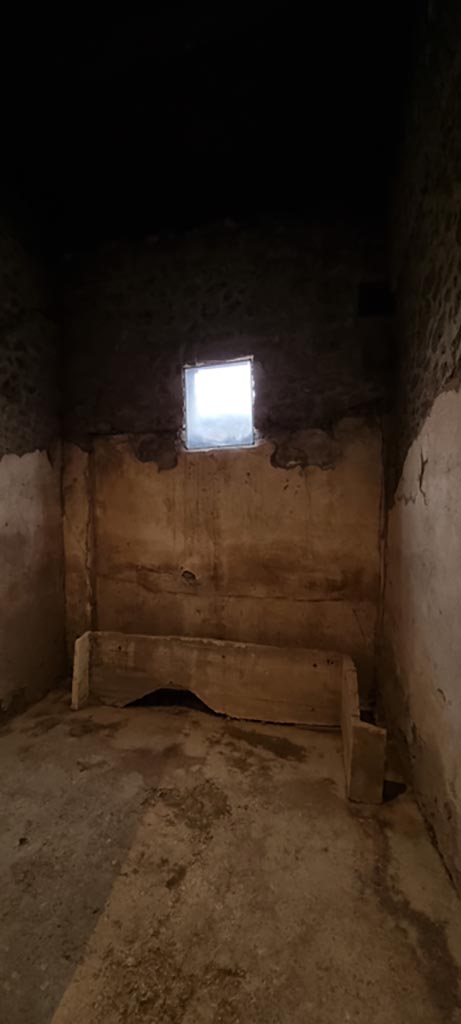
 

II.9.4 Pompeii. May 2018. Room 4, south wall. Photo courtesy of Buzz Ferebee.
II.9.4 Pompeii. May 2018. Room 4, south wall. Photo courtesy of Buzz Ferebee.
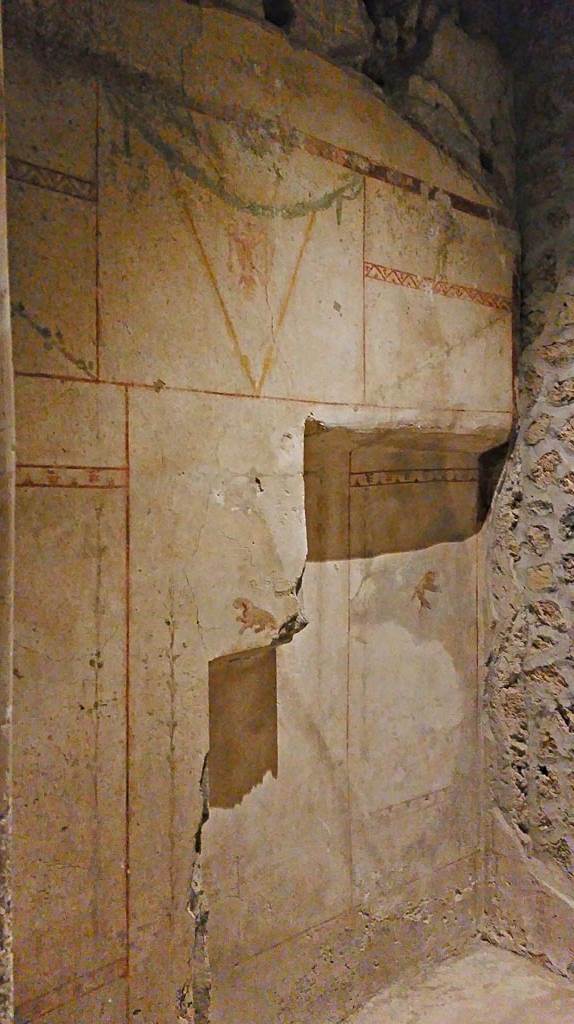
 

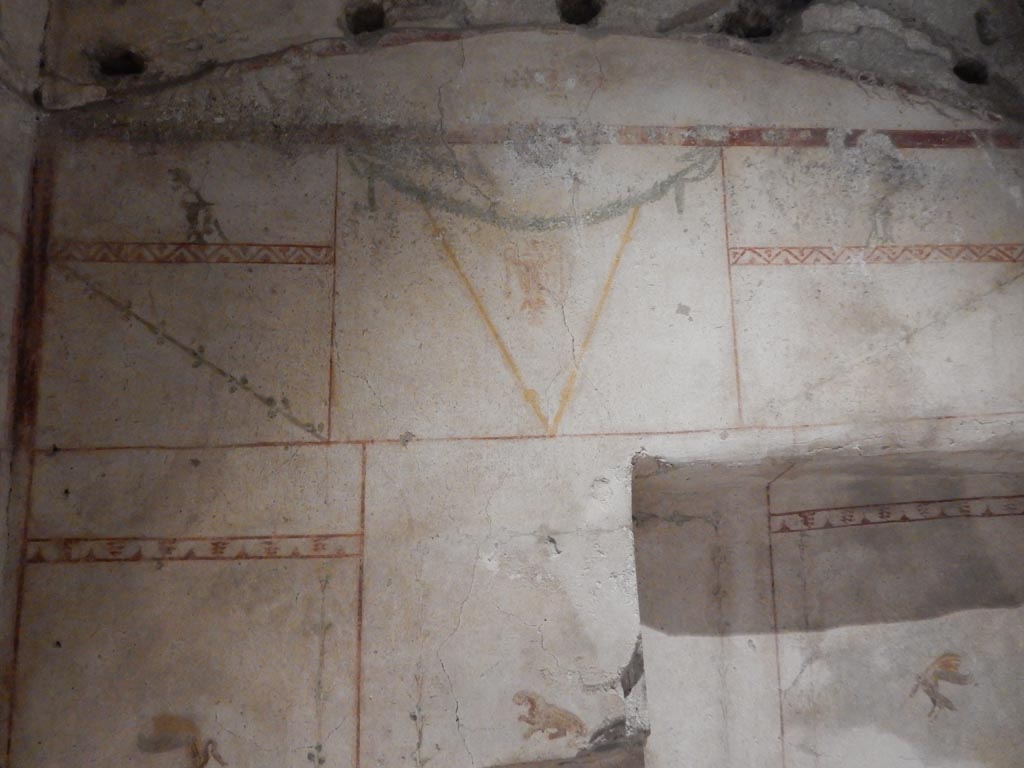
II.9.4, Pompeii. May 2018. Room 4, detail of remains of decoration (lion?)  from middle of central panel on south wall.
Photo courtesy of Buzz Ferebee.
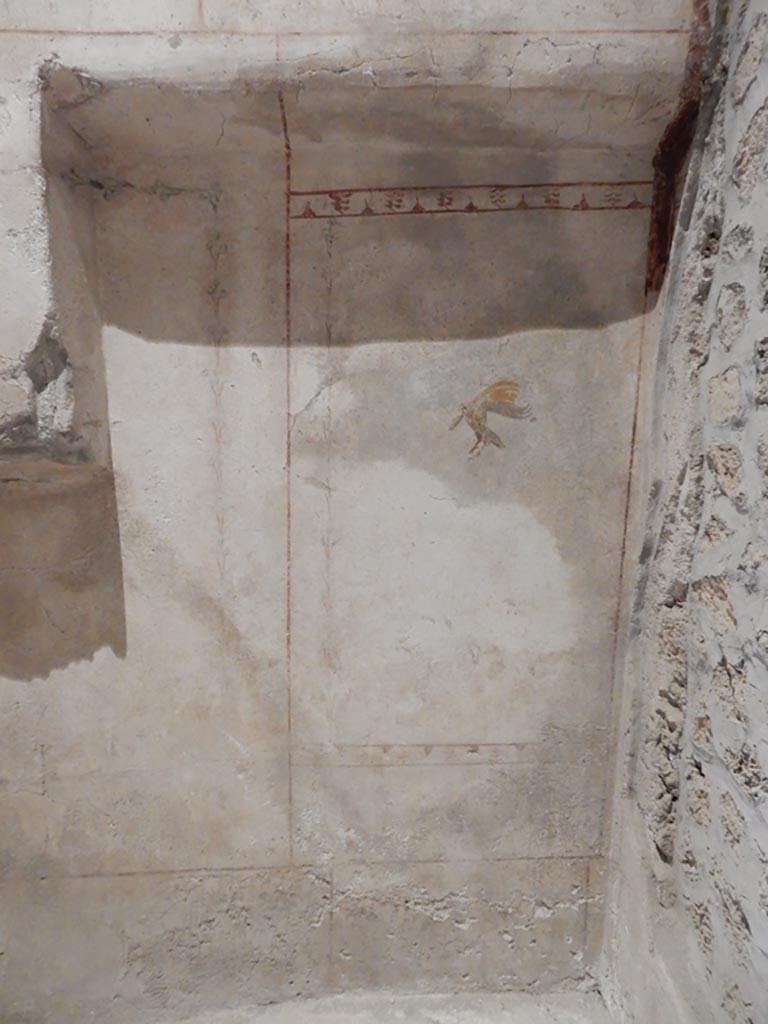
II.9.4 Pompeii. May 2018.

Room 4, detail of remains of decoration (lion?) from middle of central panel on south wall. Photo courtesy of Buzz Ferebee.
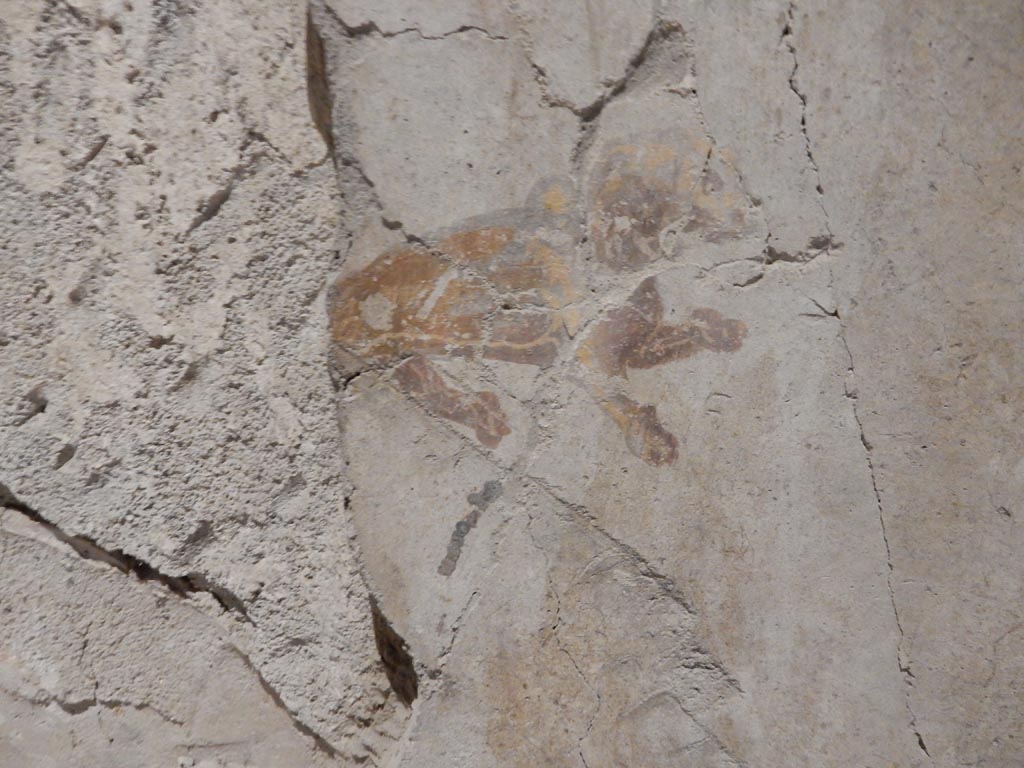
 

II.9.4, Pompeii. May 2018. Room 4, detail of swan from centre of panel on south wall.
Photo courtesy of Buzz Ferebee.
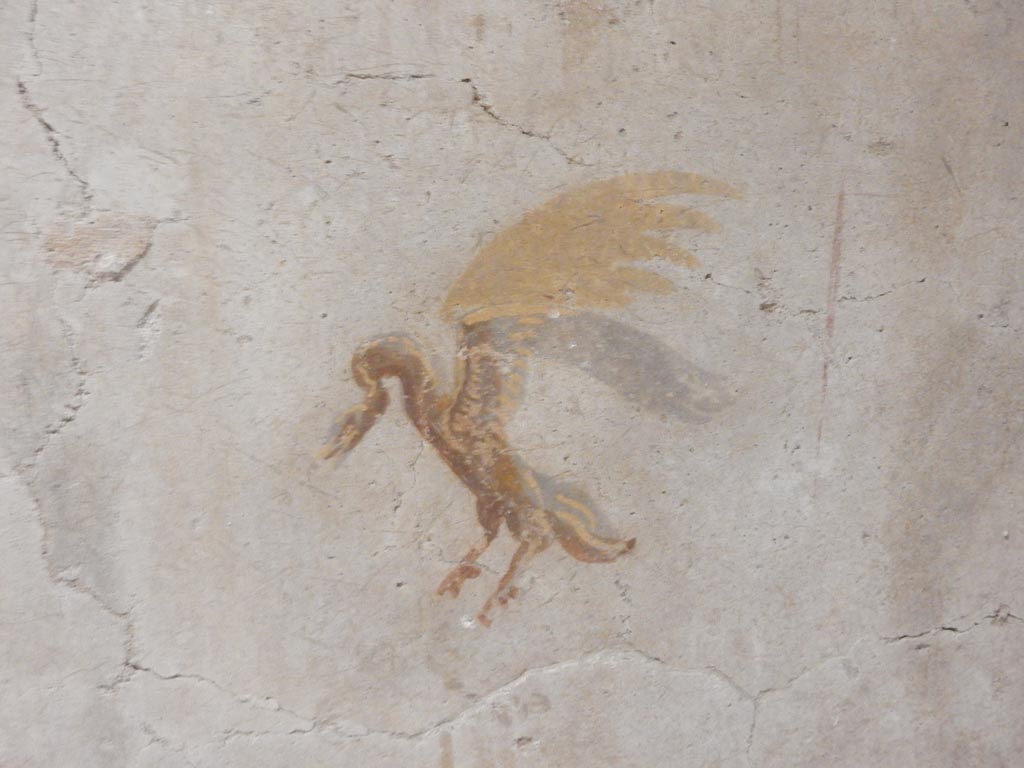
II.9.4 Pompeii. May 2018. Room 4, detail of swan from centre of panel on south wall at west end. Photo courtesy of Buzz Ferebee.


Part 1      Part 2      Part 3      Part 4      Part 5      Plan


The low resolution pictures on this site are copyright © of Jackie and Bob Dunn and MAY NOT IN ANY CIRCUMSTANCES BE USED FOR GAIN OR REWARD COMMERCIALLY. On concession of the Ministero della Cultura - Parco Archeologico di Pompei. It is declared that no reproduction or duplication can be considered legitimate without the written authorization of the Parco Archeologico di Pompei.

Le immagini fotografiche a bassa risoluzione pubblicate su questo web site sono copyright © di Jackie e Bob Dunn E NON POSSONO ESSERE UTILIZZATE, IN ALCUNA CIRCOSTANZA, PER GUADAGNO O RICOMPENSA COMMERCIALMENTE. Su concessione del Ministero della Cultura - Parco Archeologico di Pompei. Si comunica che nessun riproduzione o duplicazione può considerarsi legittimo senza l'autorizzazione scritta del Parco Archeologico di Pompei.

Ultimo aggiornamento - Last updated: 27-Aug-2024 17:57